High Gloss Finishing Solid Surface
May 18, 2023 5 min read

How to Add a High Gloss Finish to Solid Surface
Tools Required:
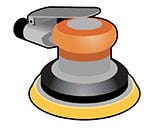
Random Orbital Sander
Spray Bottle of Water
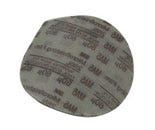
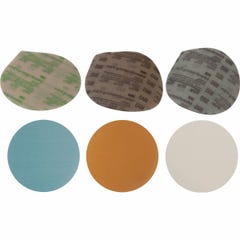
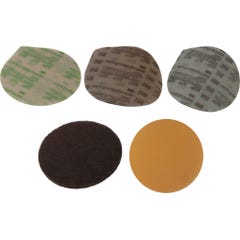
80 Micron Pads
(2) per 20sq/ft

60 Micron Pads
(2) per 20sq/ft

30 Micron Pads
(5) per 20sq/ft
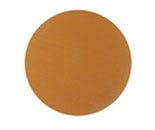
Orange Trizact Pads
(2) per 20sq/ft
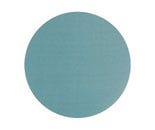
Blue Trizact Pads
(2) per 20sq/ft
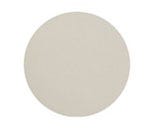
White Trizact Pads
(5) per 20sq/ft
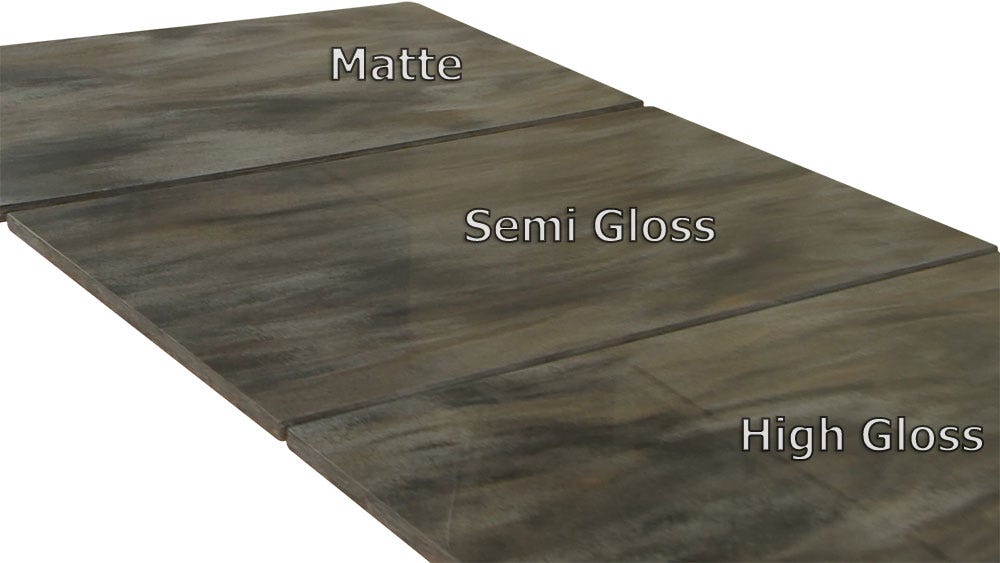
What finish is right for me?
The finish is a major thing to consider with solid surface. A matte finish undoubtedly shows scratches less than semi-gloss and much less than a high-gloss finish. This is especially true of darker colors which tend to show scratches more in general. For high-traffic areas, a Matte finish is generally recommended. A semi-Gloss finish is an acceptable alternative although you may have some additional maintenance required every few years. High-gloss finishes should only be considered in low-traffic areas where aesthetics outweigh durability.
"High-gloss finishes should only be considered in low traffic areas where aesthetics outweigh durability. "
What are micron disks and how does this compare to regular sanding pads?
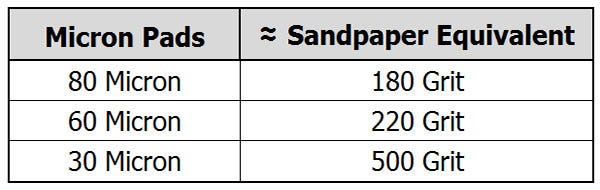
Micron sanding disks have have consistent grit across the entire sanding pad. With regular sandpaper, the grit is inconsistent. If you purchase and use 220 grit sandpaper, none of the grit is larger than 220, however many could be of varying smaller sizes. This inconsistency can cause swirls in sold surface. For this reason we recommend and exclusively use micron pads. (Micron pads are available in the supplies section of our website.) If you prefer to use regular sanding pads instead, to the left is a rough conversion chart so you can still follow the instructions below.
Adding a High-Gloss Finish to Solid Surface
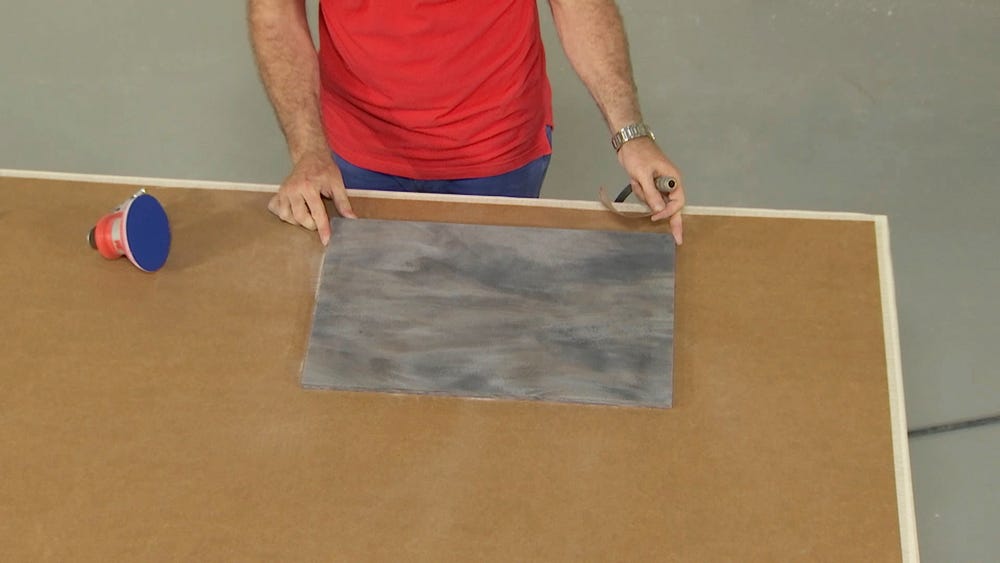
1. Check to see if the surface is free of any scratches or defects caused during transportation, handling or fabrication. If there are no scratches or defects, you can skip step two and begin with a 60-micron disk.
2. Using an 80-micron abrasive disk, sand the entire top to a uniform finish using your orbital sander. Be sure to overlap sanding strokes by at least ½ the pad diameter and cover the entire surface. Once complete, wipe down the surface and inspect for leftover scratches and a uniform finish.

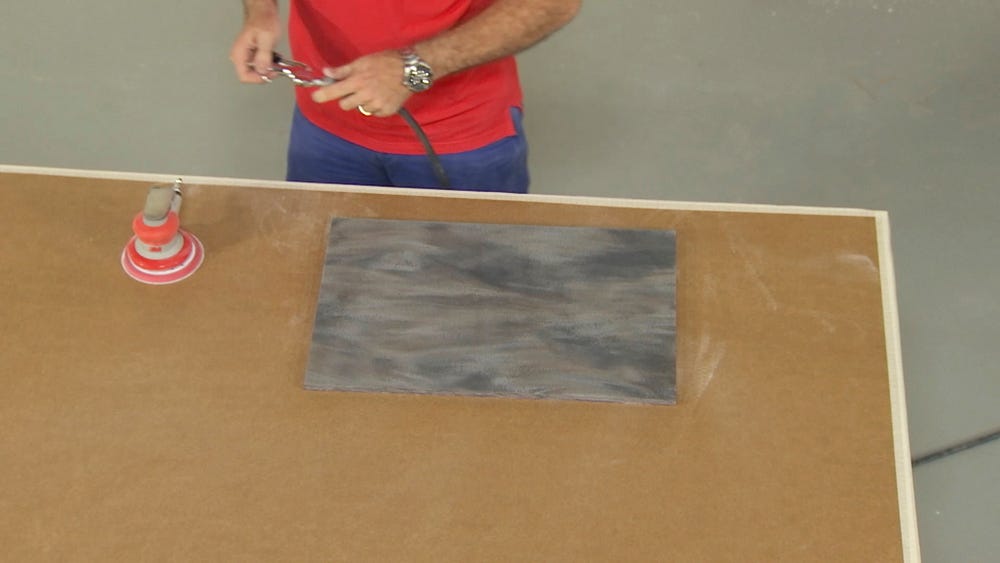
Key Tip: Most people recommend sanding in an up-down, left-right motion. This is certainly acceptable, however, it sometimes produces a "railroad" effect if you're not careful. In our facility, we generally train employees to use random swirls while making sure to cover the entire material evenly. Either technique works, just take care not to over sand any one area.
3. Using a 60-micron disk, sand the entire top to a uniform finish. Typical to step two, be sure to overlap your sanding strokes.

Key Tip: With each successive sanding pad, the goal is to sand until you have removed the scratches from the previous grit (i.e. While using the 30 micron disk, you will know you are finished once you have removed all of the scratches made by the 60 micron disk.)
4. Re-sand the top with the 30-micron disk and repeat the cleanup procedure. Inspect top once again.


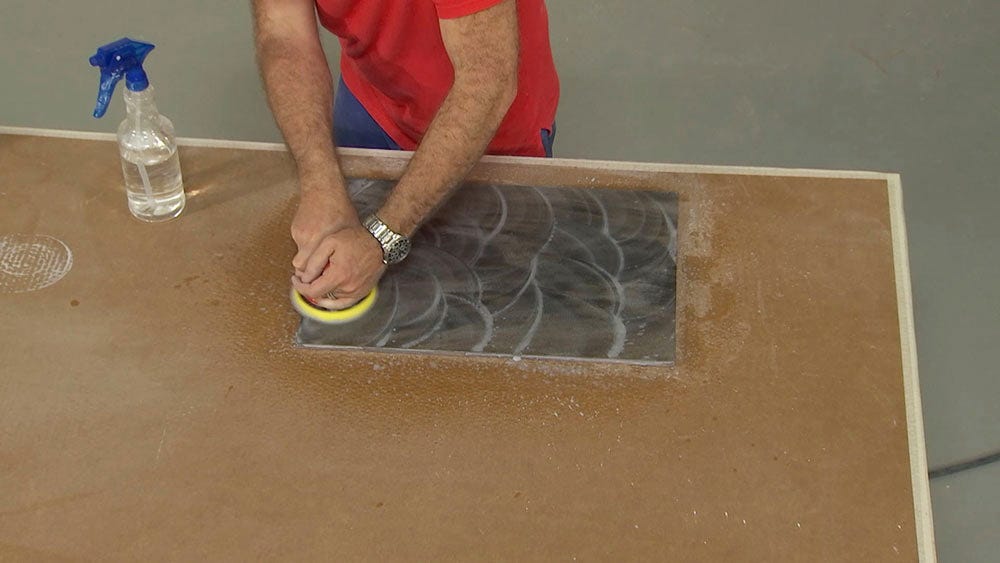
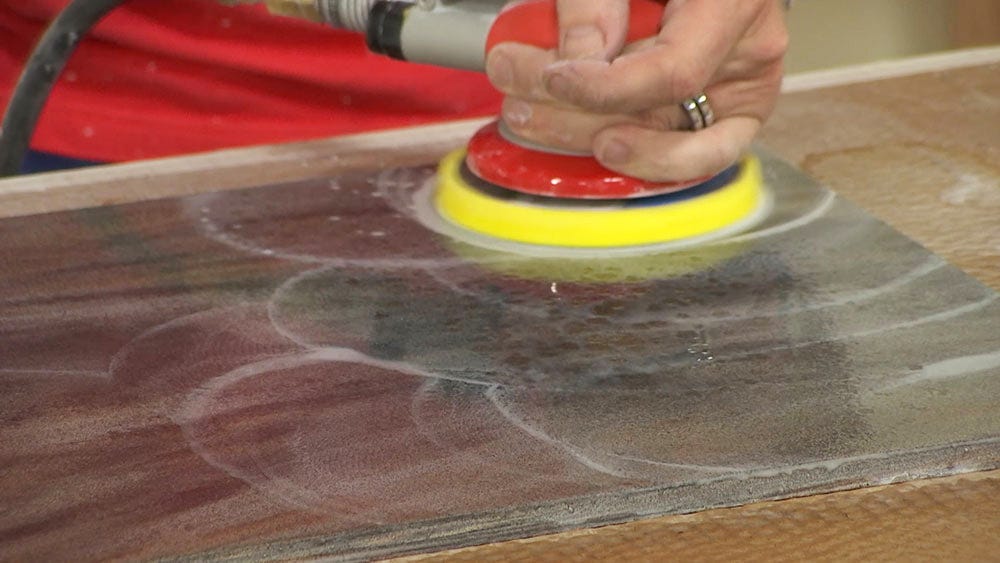
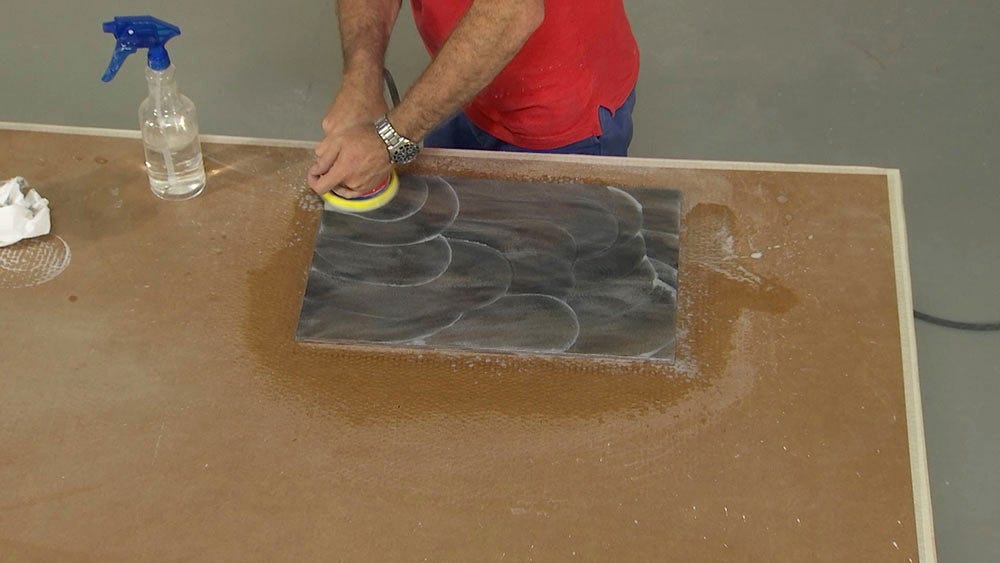
5. Next, wet sand the entire surface using the orange trizact sheet. For wet sanding, you will need to use a random orbital sander that is powered by compressed air. Wet sanding using an electric sander is not advised as it is a shock risk. A spray bottle is often helpful in this step. Liberally spray water on the area you finishing and sand in a typical fashion to dry sanding. Continue until you have a consistent glossy finish.

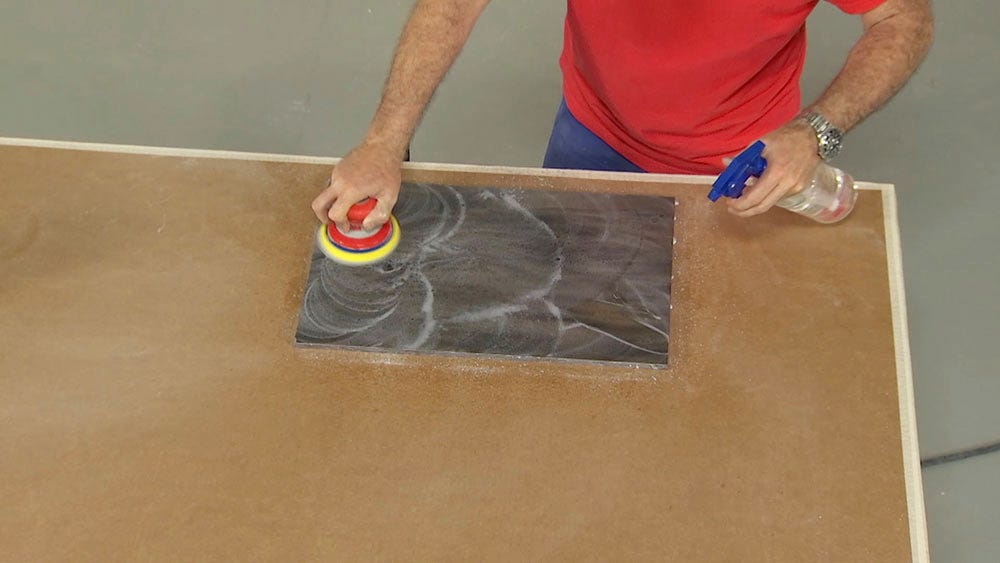

Key Tip: Make sure to check the trizact sheets regularly for imperfections in the pad as trizact can bubble and create an uneven polish.
6. Repeat the process, wet sanding with the blue trizact sheet
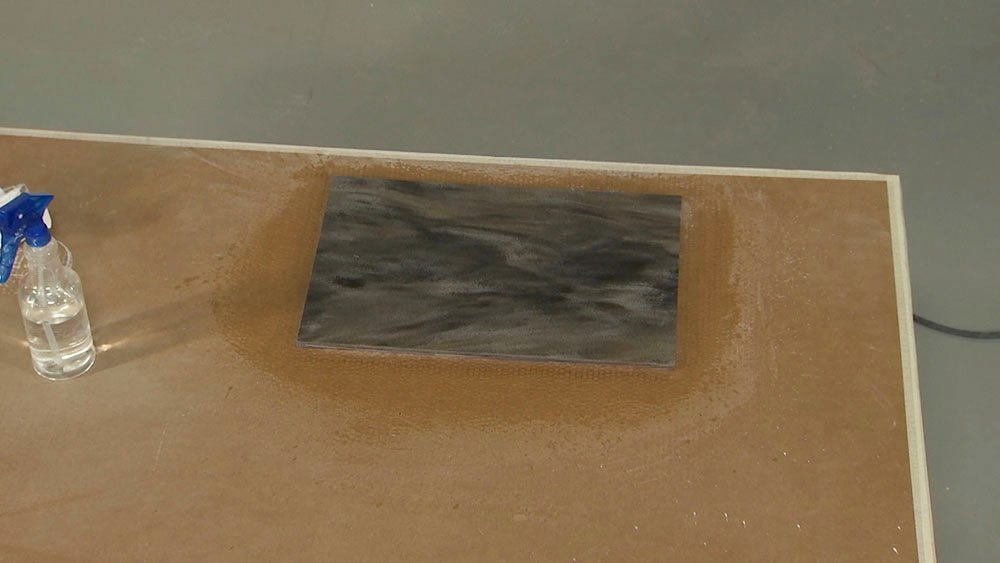
7. Lastly, wet sand with the white trizact sheet until you have a consistent high-gloss finish.
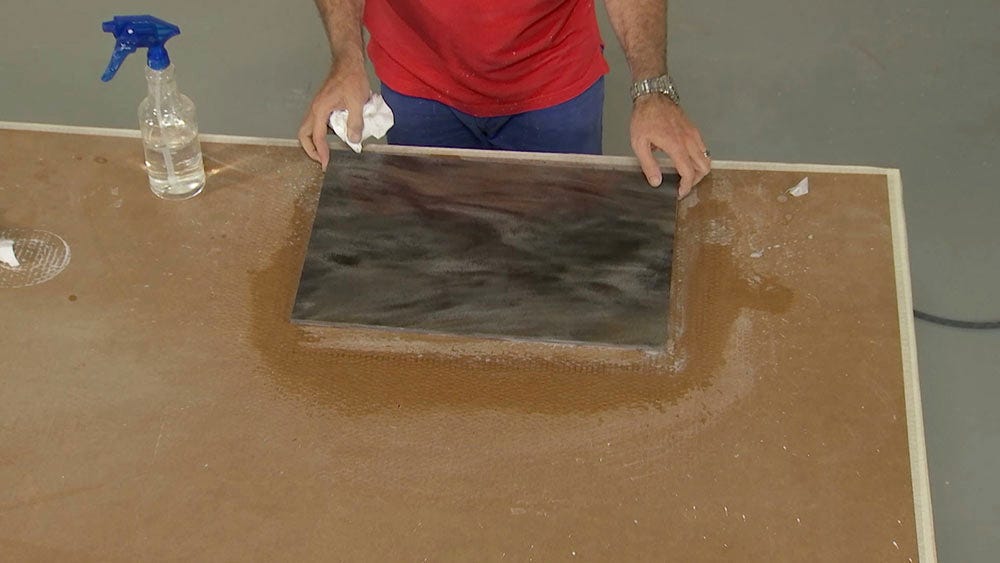
Note: There is no standard high-gloss finish. You can continue to use the trizact sheets until you have achieved the level of gloss you desire. Remember, the glossier the finish the more scratches will who on your surface. To effectively check for a uniform finish during sanding, install low-angle lighting behind the workstation.