Adding a Stacked Edge Buildup
May 26, 2023 7 min read

How to Add a Stacked Edge Buildup
Tools Required:

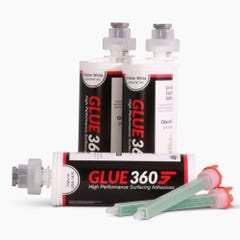
Adhesive & Gun

Stop Blocks

Glue Gun
Spring Clamps

Sanding Block

Orbital Sander

Denatured Alcohol
Countertop Fabrication Techniques
There are two techniques for fabricating a countertop with edge buildups. The technique you will use is dependent on the size/state of the countertop surface piece at the time in which buildups are added. If your existing countertop surface piece has been left slightly over sized from its final dimensions, you will use "technique 1". However, if it has already been cut to the final finished dimensions, you will need to used "technique 2."
The major differences between implementing either technique is how the buildups are positioned on the surface:

Technique 1
Edge treatments should sit flush (even) with the edge.

Technique 2
Edge treatments should sit proud (overhang slightly) with the edge.
Once you decide on a technique, you will use your router for cutting/trimming the excess accordingly:

Technique 1
Cut excess away from all layers. This final cleanup cut is made with the countertop face up using a straight router bit and a straight edge to cut your countertop to the finished size.

Technique 2
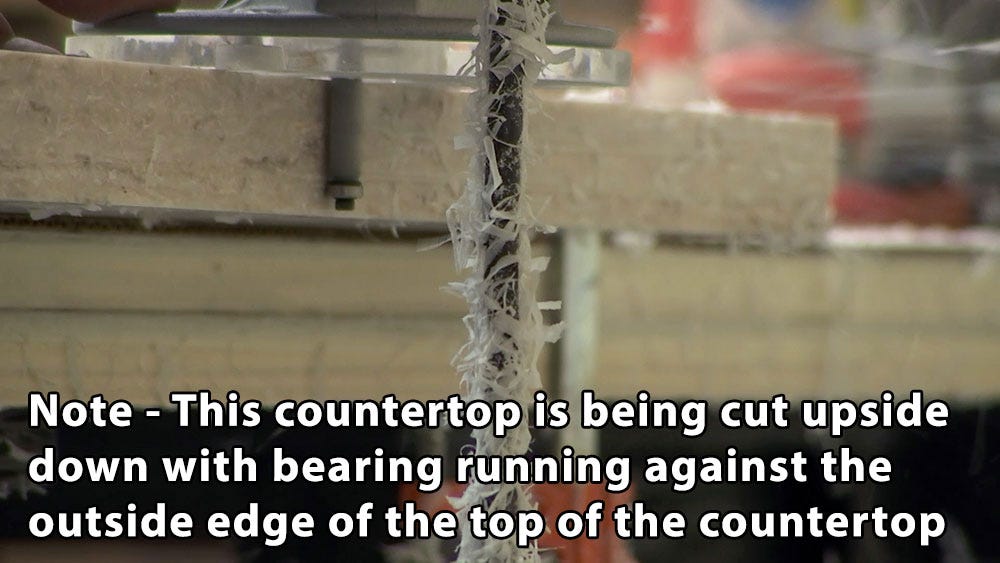
Cut excess away from buildups only. This final cleanup cut is made with the countertop face down using a flush trim bit that runs against the top of your countertop and trims off the overhanging edge buildups.
Either option is acceptable and selection is largely driven by a combination of personal preference, material yield out of a sheet and available tools.
Stacked Edge Buildup Instructions
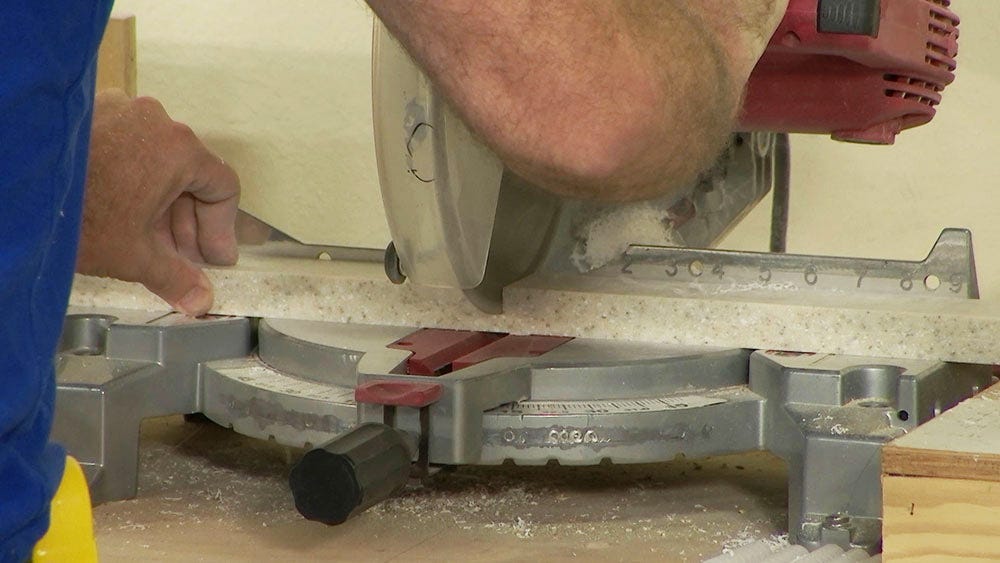
1. Use your excess material to cut 1" wide strips. A table saw helps expedite this process tremendously.
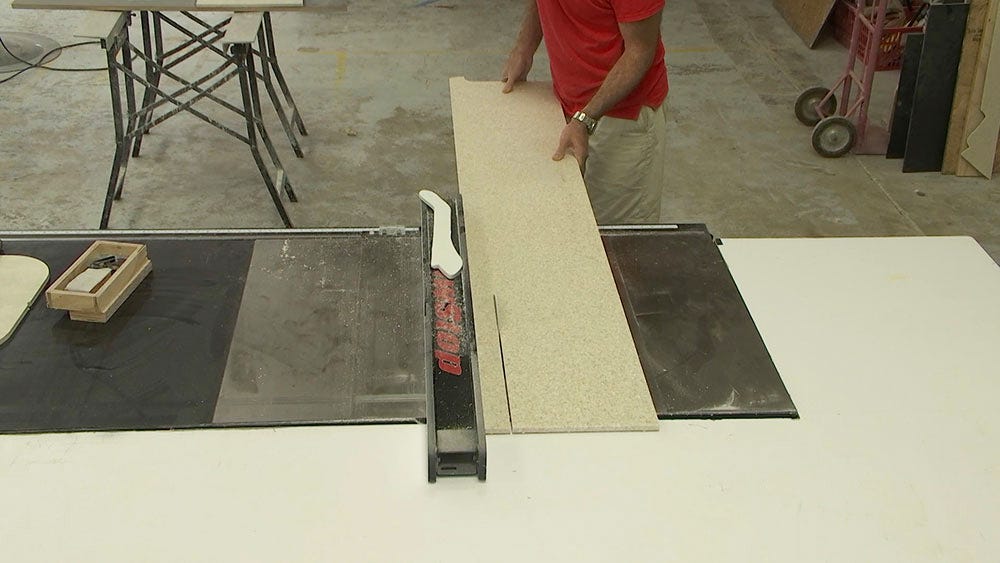
Cut Buildup Strips
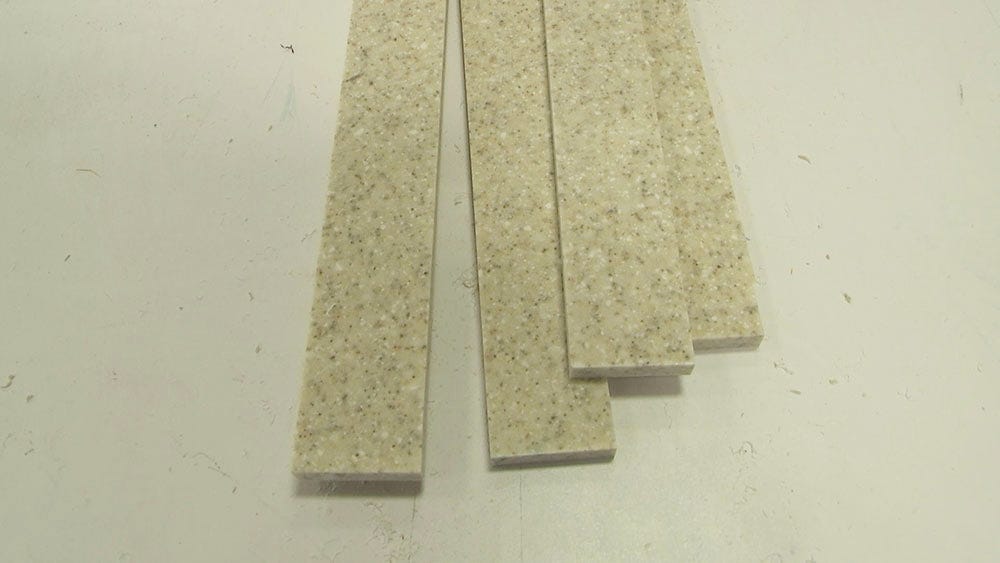
Prepped Buildup Strips
2. Cut corner treatments if required. Corner treatments are 6" x 6" square blocks placed in your corners. These blocks provide the necessary material to add radius corners. You will need corner treatments if have either.
Any Inside Corner
Outside Corner Radius > 2.5"
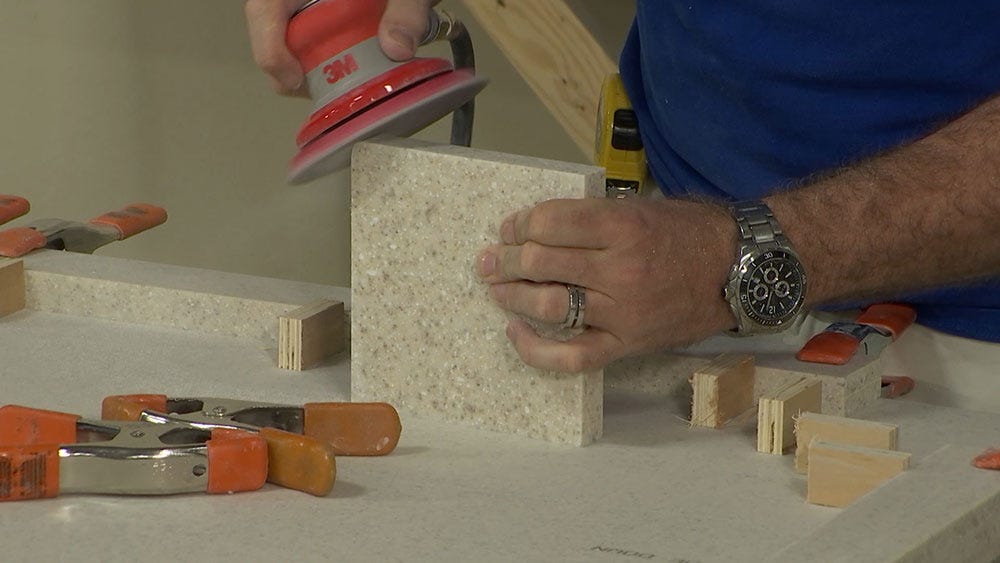
3. Turn your countertop over and do the required prep work.
Sand Seam
Sand Out Print Ink
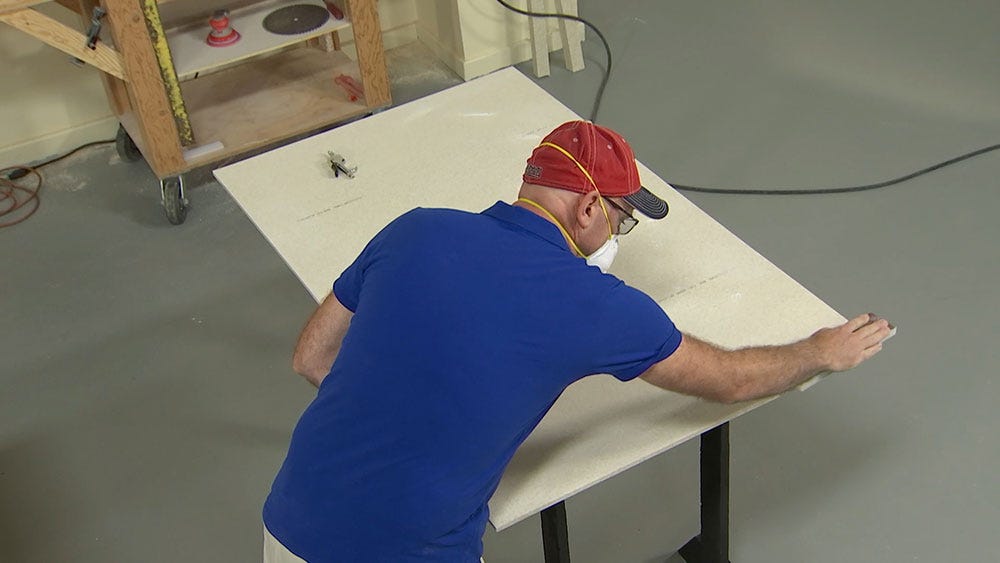
Sand With Sanding Block
Sand With Sanding Block
Key Tips: We advise using a sanding block rather than orbital sander on edges and strips to avoid mistakenly rounding over square edges which will need to stack flush in the next step.
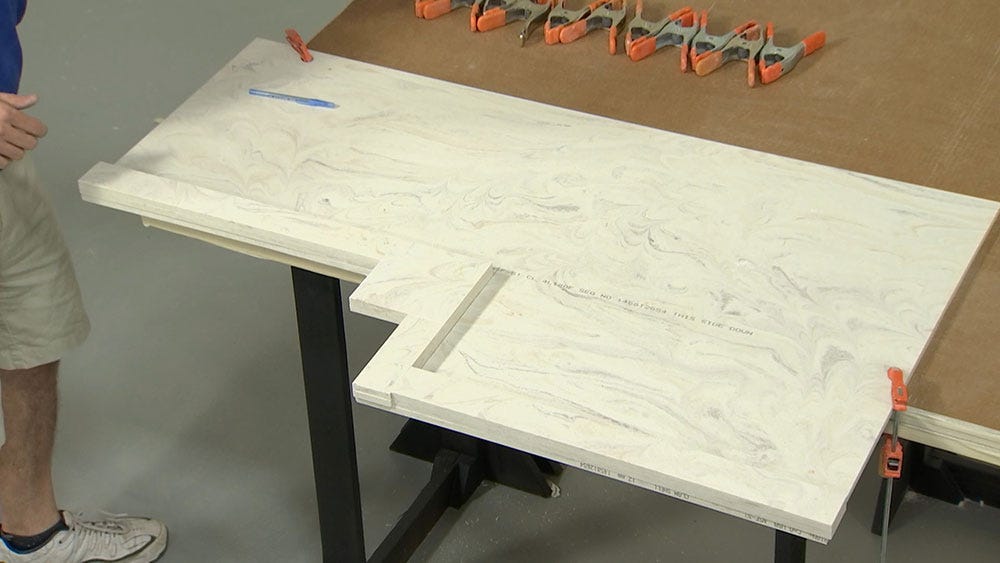
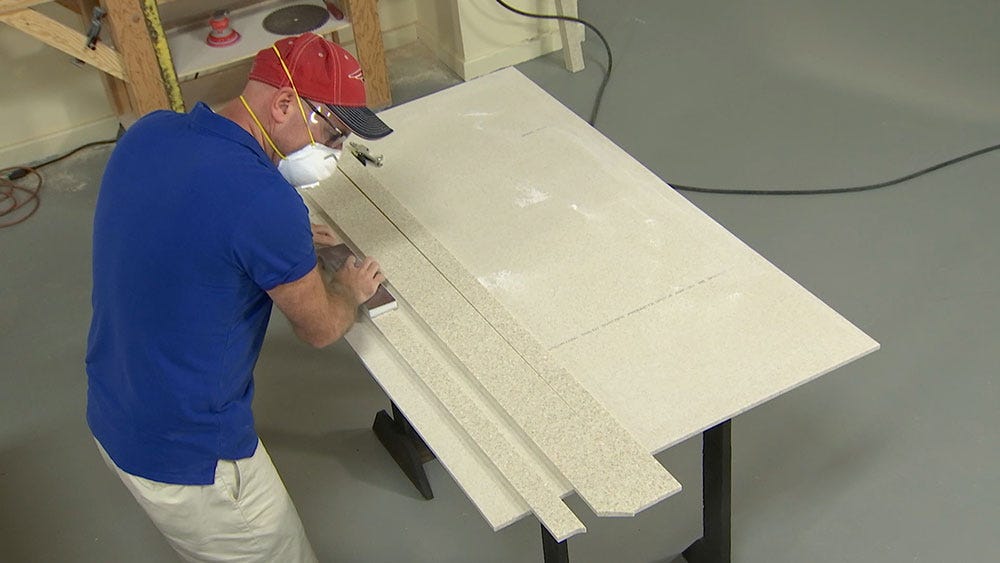
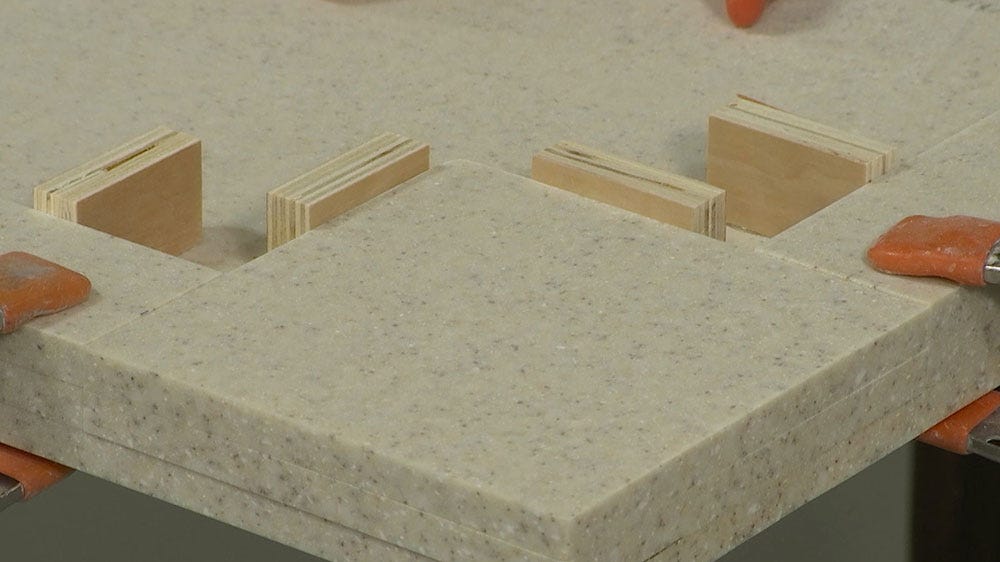
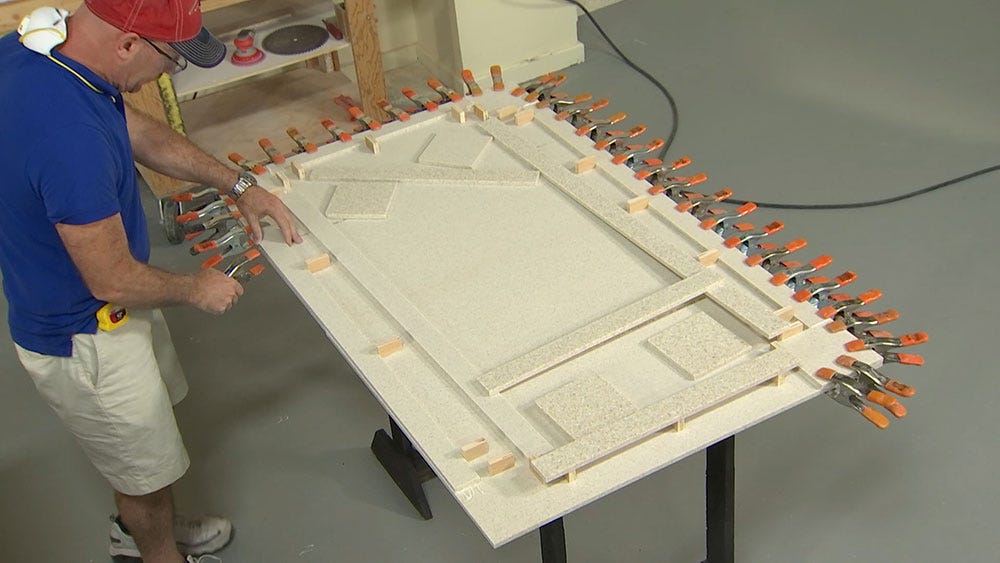
4. Place your corner treatments (if required) first. Measure edges that require buildup and cut required strips. Do a dry fit, setting your buildups into place typical to how they will be glued.
Corner Treatments First
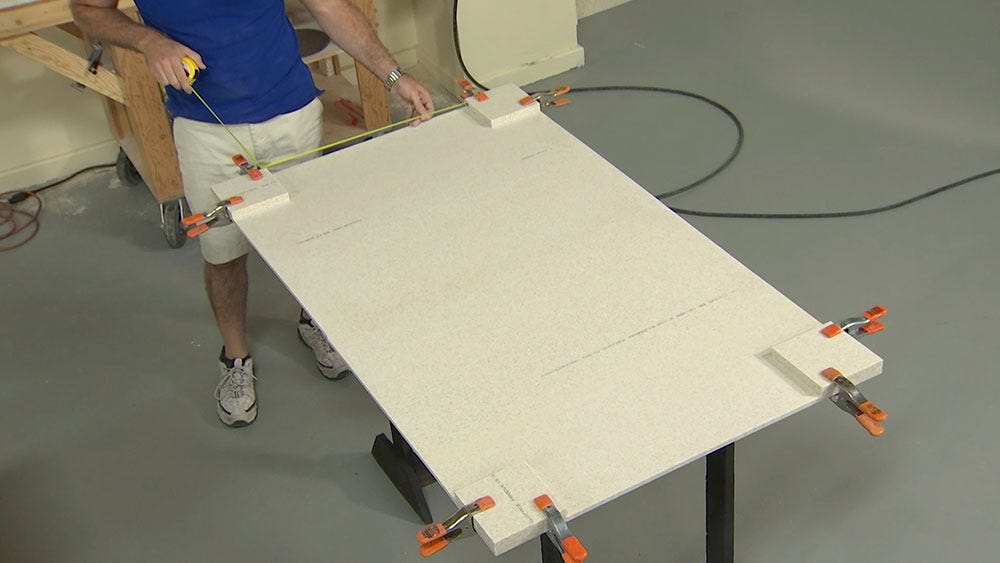
Measure Between Corners
Cut Strips to Fit
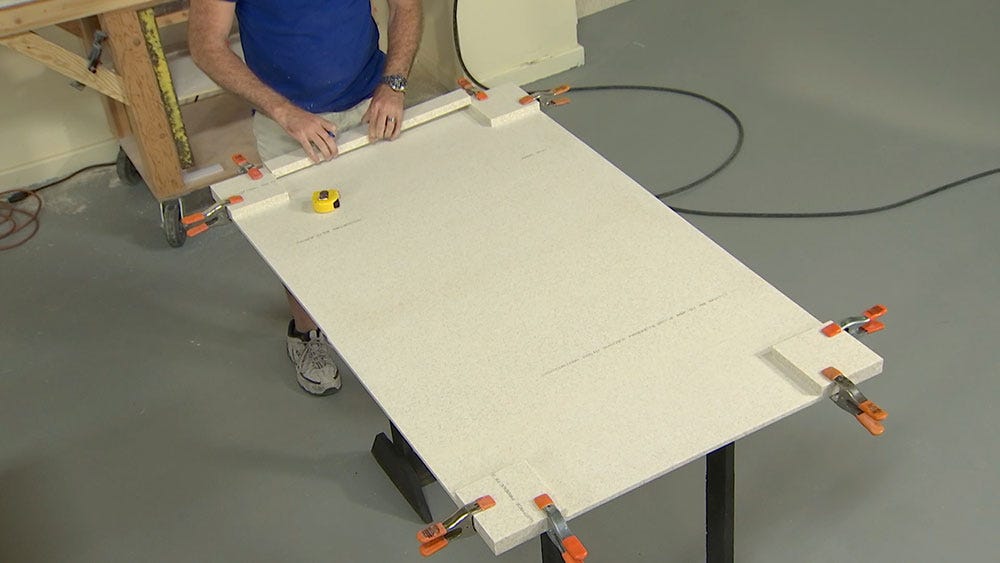
Set Strips in Place
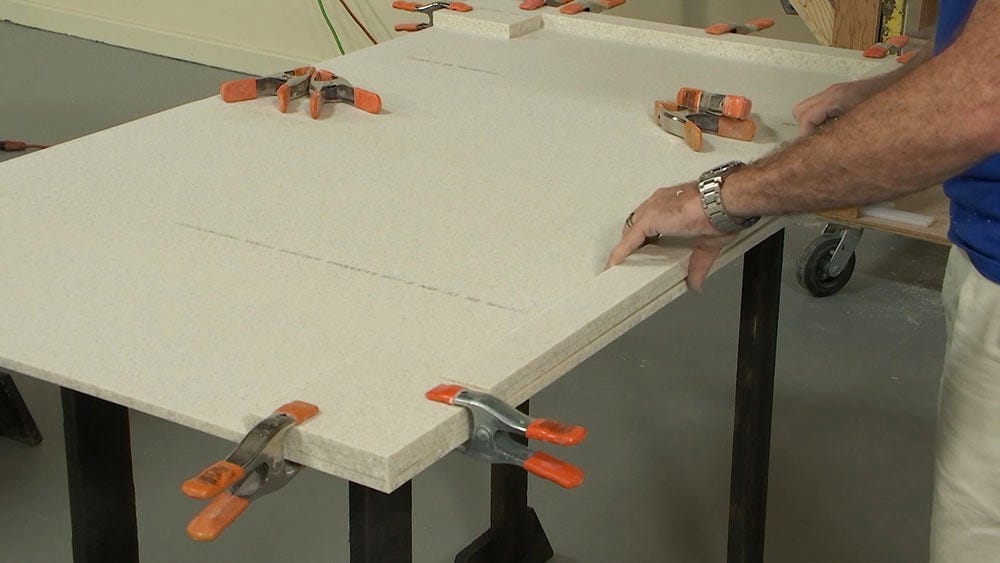
Repeat on Finished Edges
Completed Dry Fit
Key Tips: Note your strips will either sit flush with edge or slightly proud depending on whether you are using "technique 1" or "technique 2" as outlined above.
You may need to adjust corner treatments as you set your buildups in place because of small measuring/cutting variations. It is not critical that buildup/corner treatment overhang be perfectly consistant as you will trim the edge after gluing.
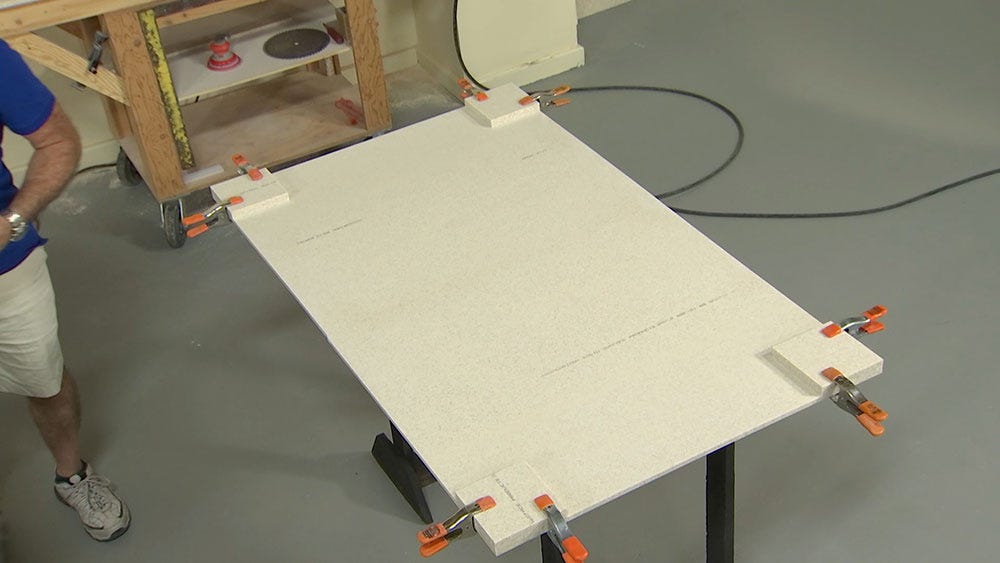
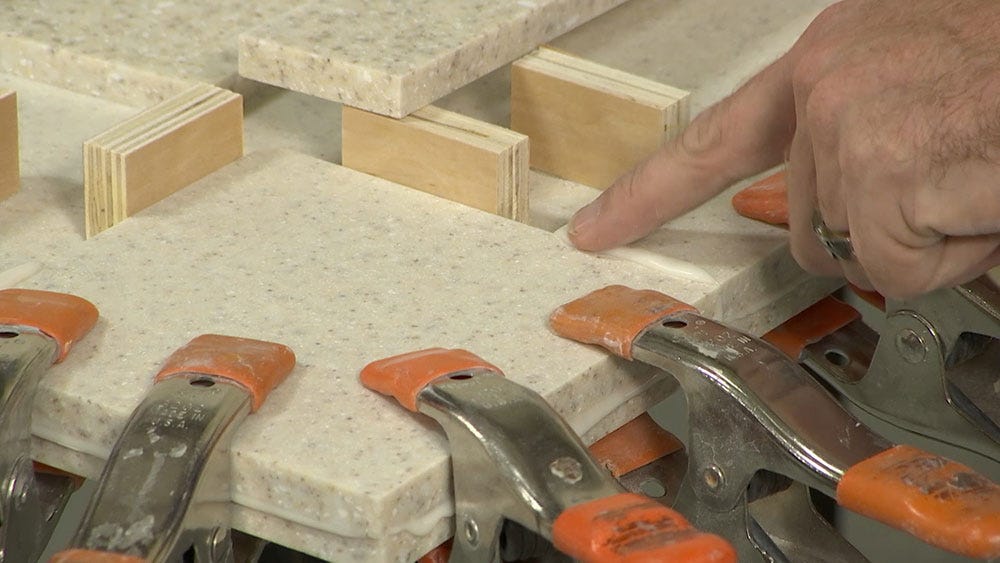
5. Once comfortable with your dry fit, hot glue plywood stop blocks behind the buildup strips. These will be used to locate strips during actual gluing step.
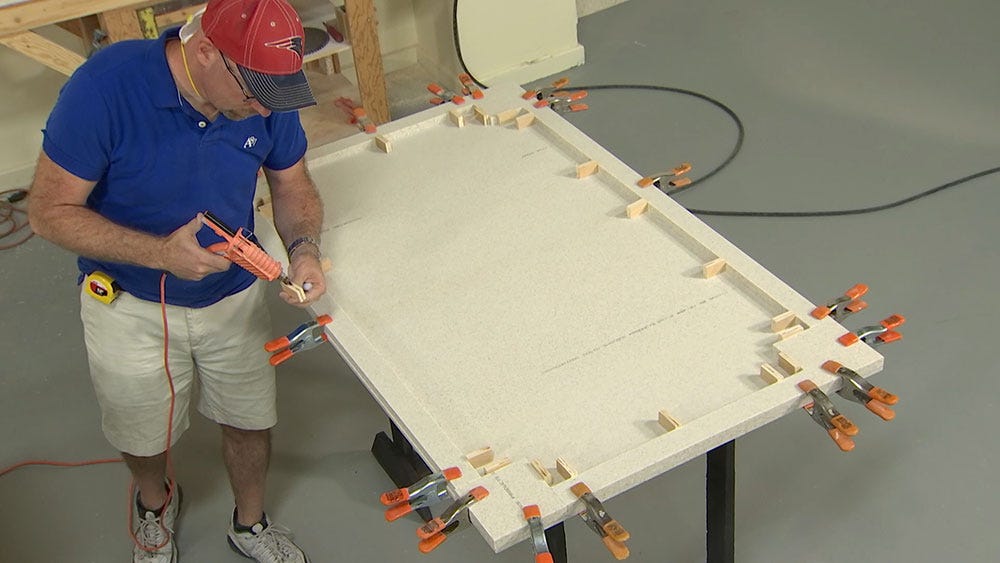
Glue in Stop Blocks
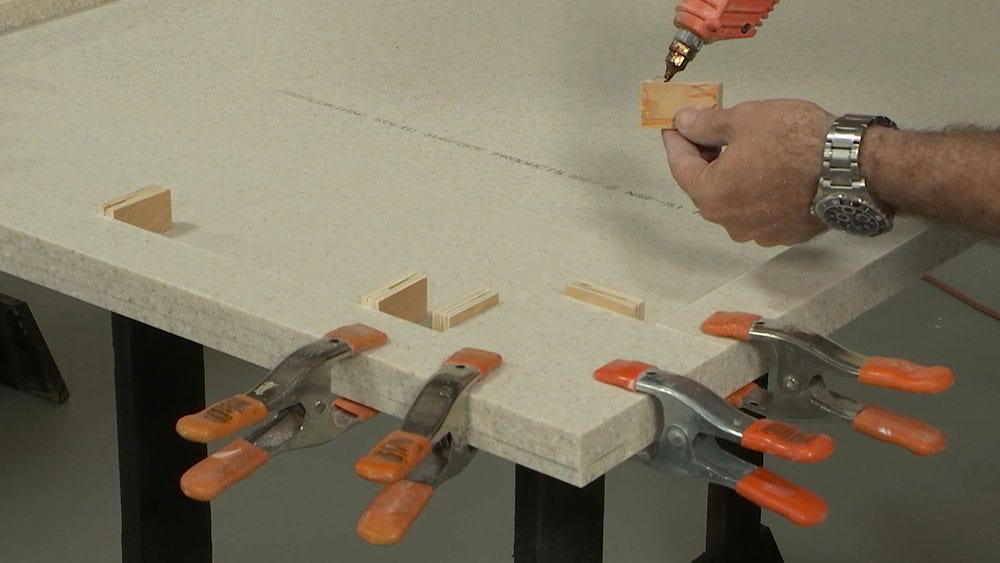
Glue in Stop Blocks
6. Remove corner treatments and sand radius into the inside corner. This important step helps relieves pressure from a stress point that could over time be a fracture location if left as a sharp corner.
Sand Inside Corner
Radius Inside Corner
7. Remove all strips and treatments and wipe all surfaces with denatured alcohol to clean.
Wipe Strips With Denatured Alcohol
8. Using your adhesive dispensing gun and mixing tips, dispense 5-10 inches of adhesive onto a piece of cardboard or scrap. Note the below image showing the visible difference in adhesive consistency once properly mixed. This step is critical as it ensures the two-part adhesive is properly mixed.
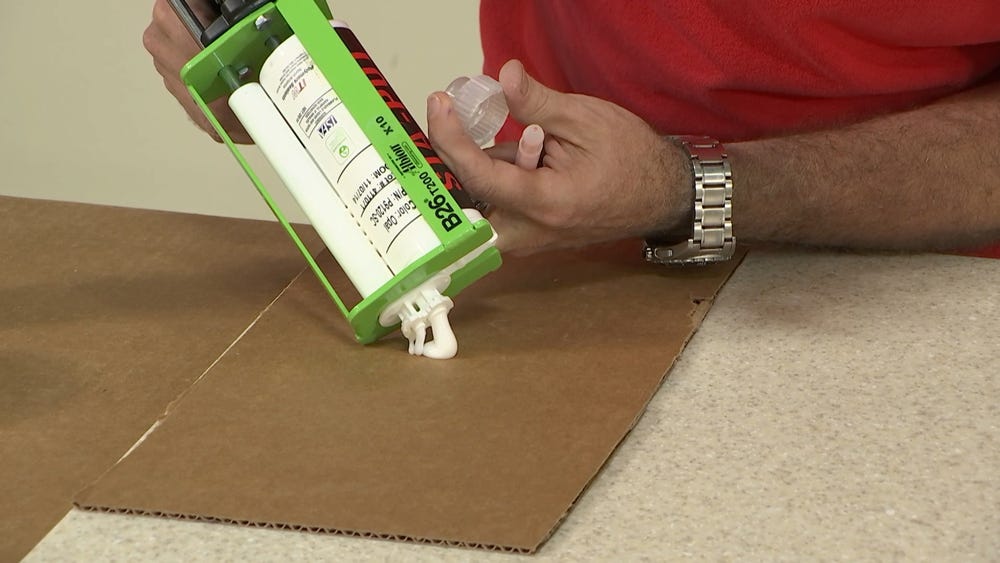
Confirm Adhesive Dispenses Properly
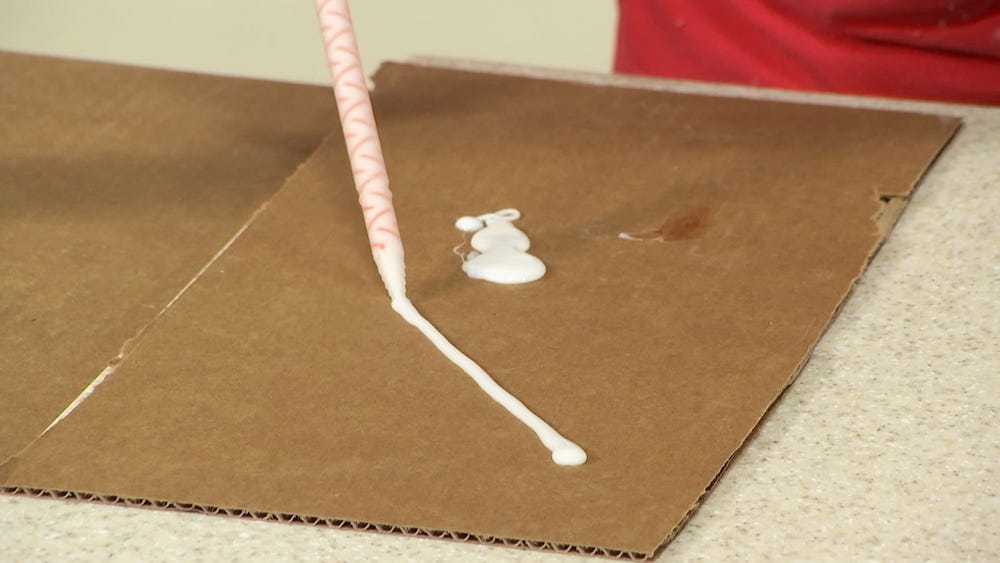
Dispense to Ensure Mixture
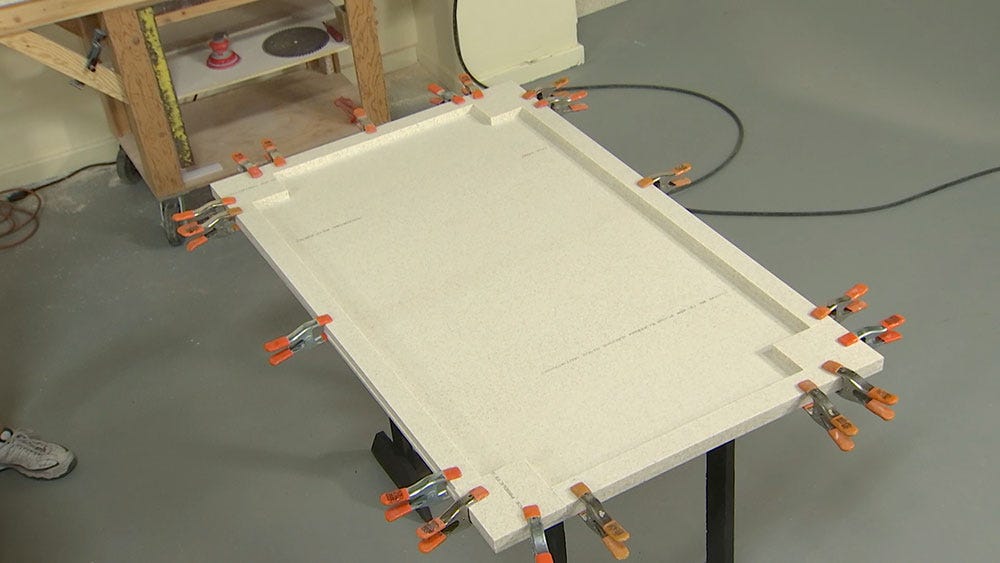
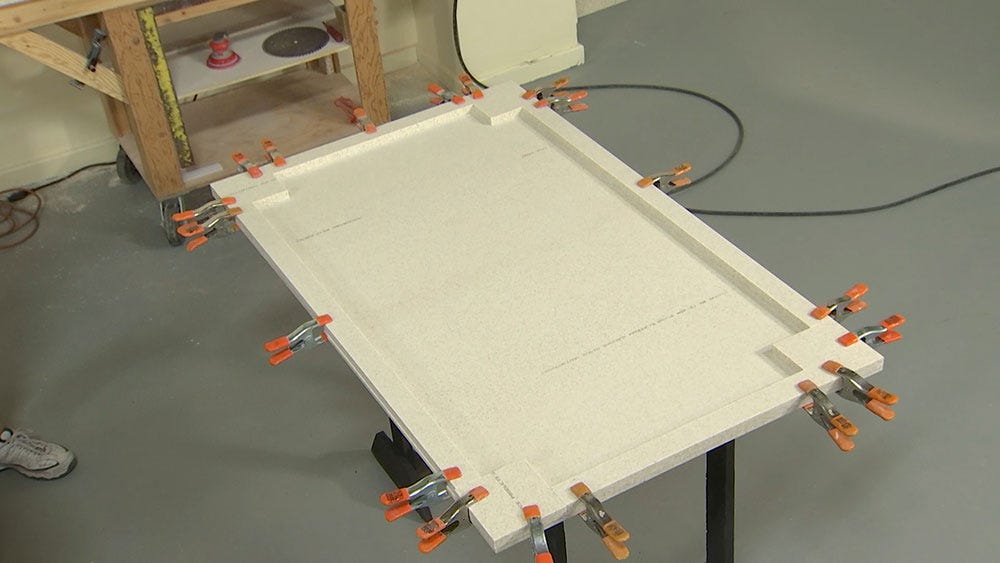
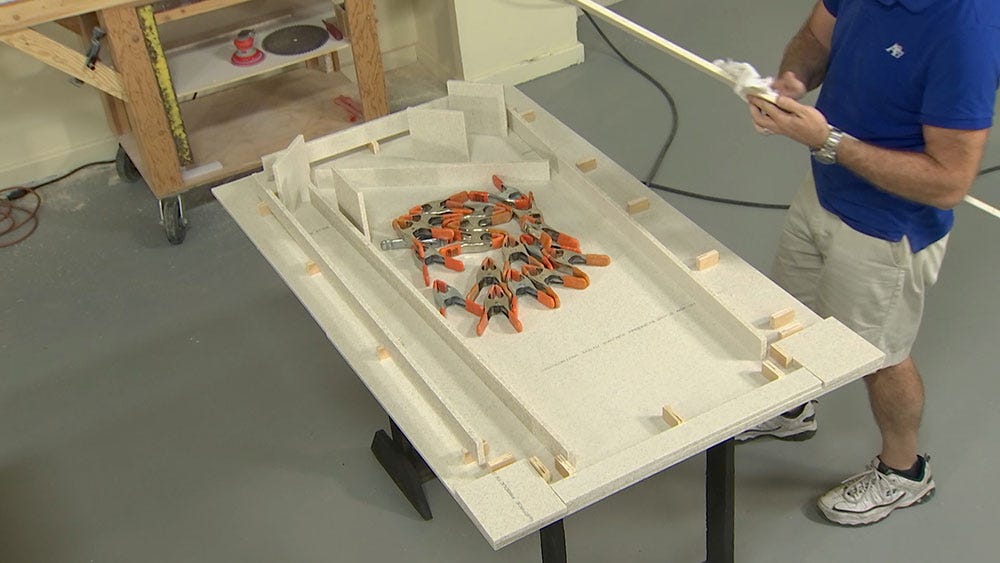
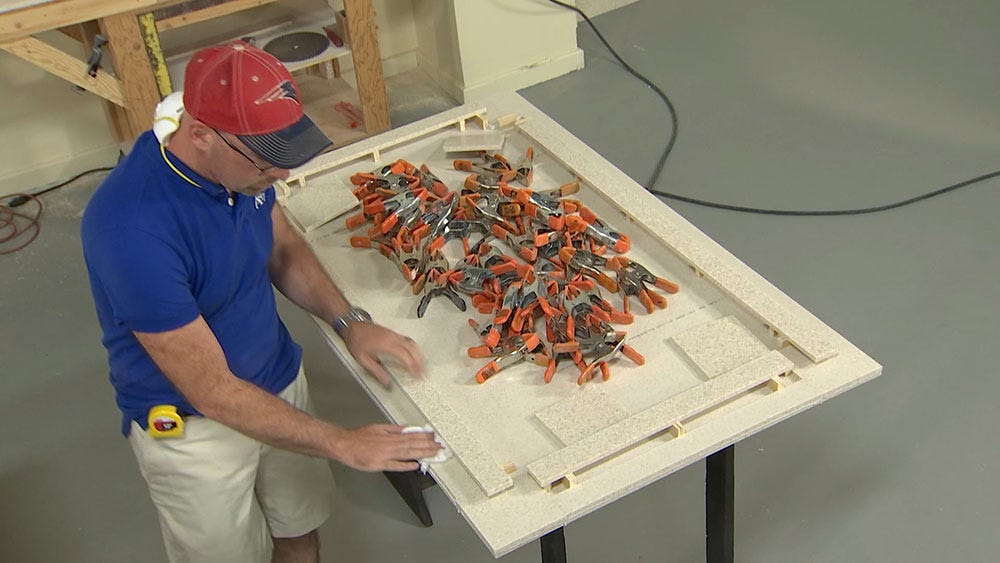
9. Apply a generous amount of the adhesive to the seam area taking care to ensure there is an even coating. Place the buildup in a position pressed hard up against the stop blocks. Do not wipe away the excess glue that presses out of the seam. Clamp the strips against the countertop using spring clamps placed every 1"-2" across the entire length. Allow the glue to begin curing.
Apply Two Part Adhesive
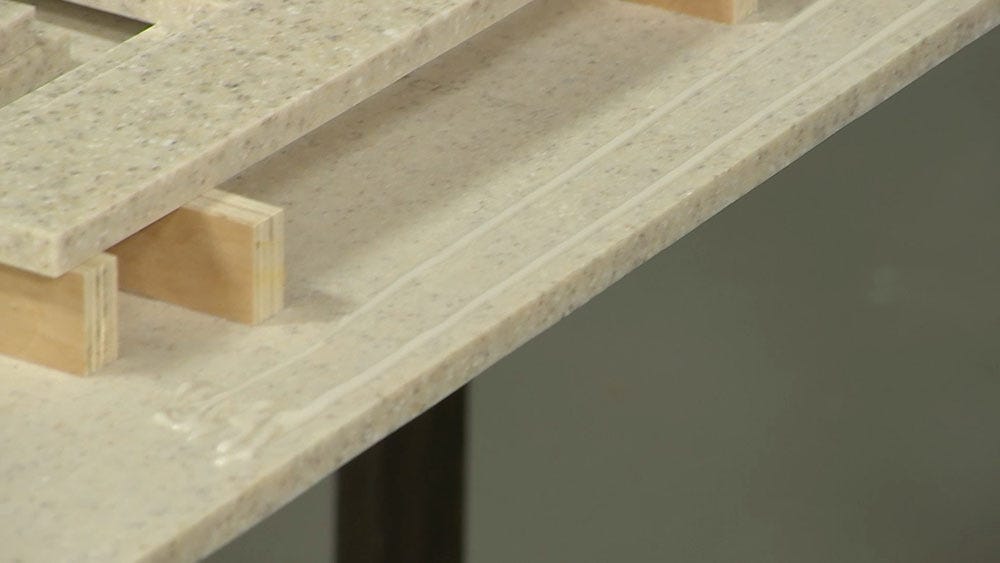
Apply Two Beads of Adhesive
Apply Adhesive to the Corners
Add Clamps Every 1"- 2"
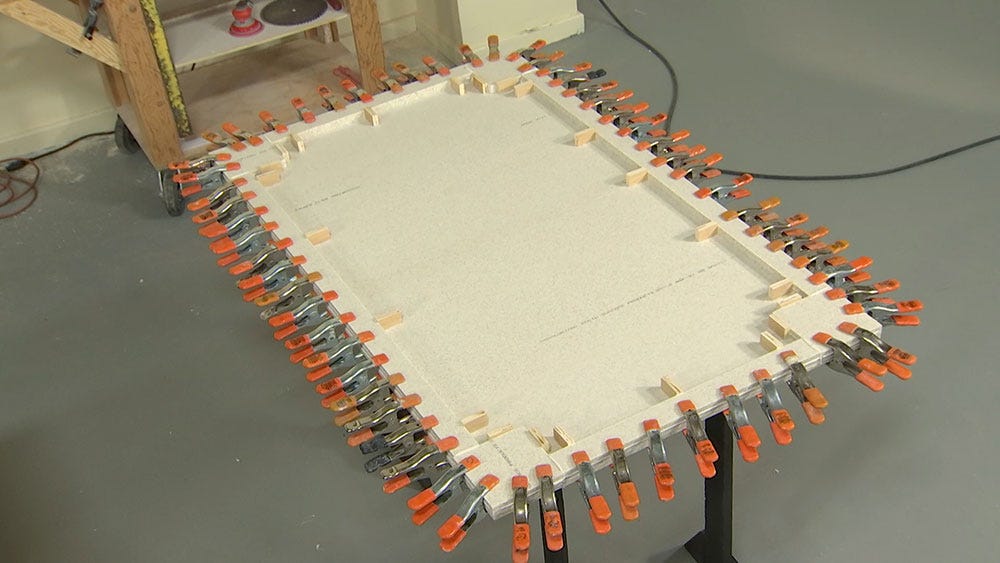
First Layer Complete
10. Monitor the adhesive squeeze out. After 15-25 minutes (depending on temperature) the adhesive will start to get gummy. At this point, it is recommended to scrape the excess adhesive off the top of the buildup. Do not remove the squeeze out on the sides as this will be trimmed out in a later step. If you miss this step and the adhesive fully cures, you must chisel the adhesive which is more time-consuming.
Check Gummy Texture
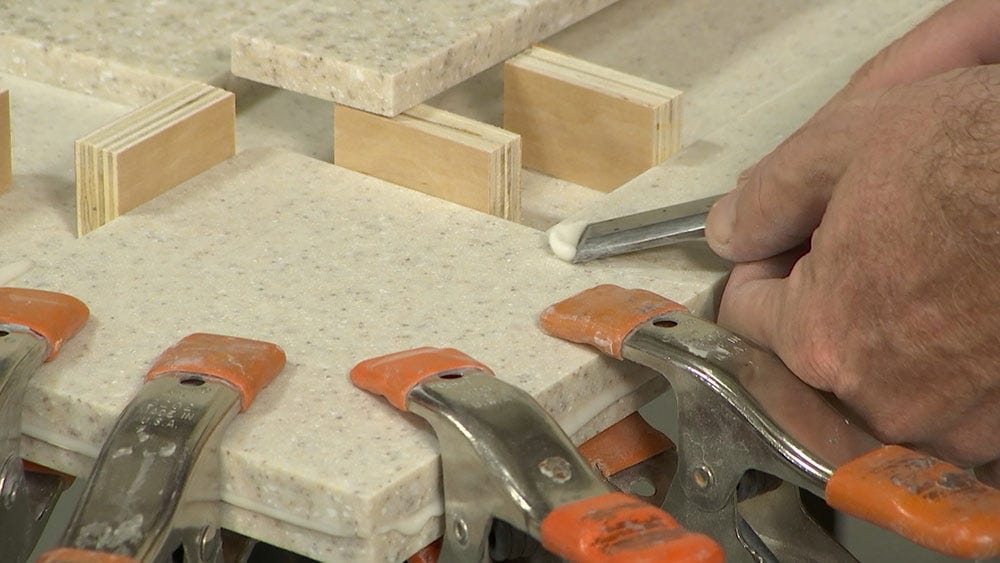
Scrape off Excess Adhesive
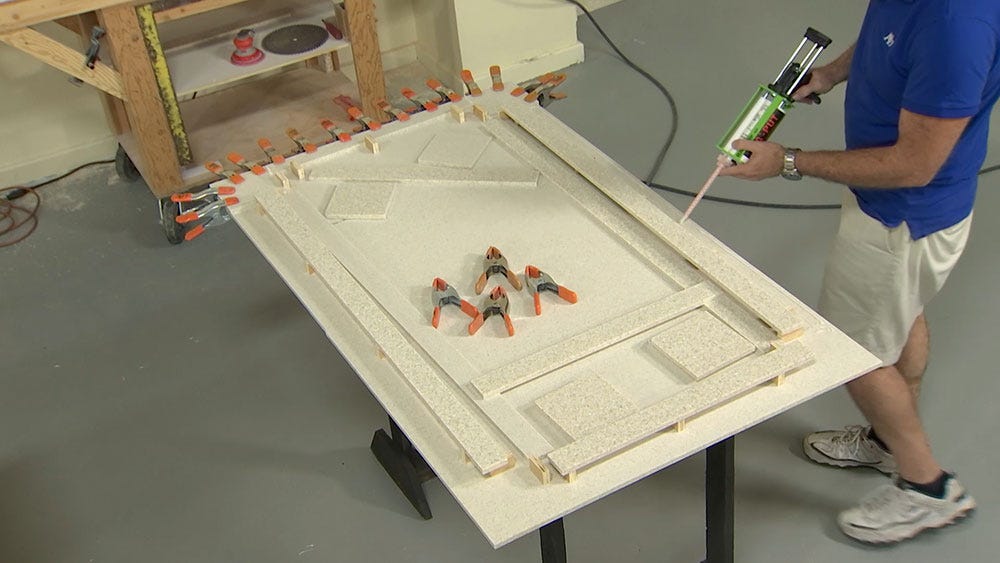
11. Remove clamps, wipe down edge and second buildup with denatured alcohol and repeat gluing step with second buildup. Allow 30-45 minutes to fully cure.
Wipe Clean

Apply Adhesive

Allow to Cure
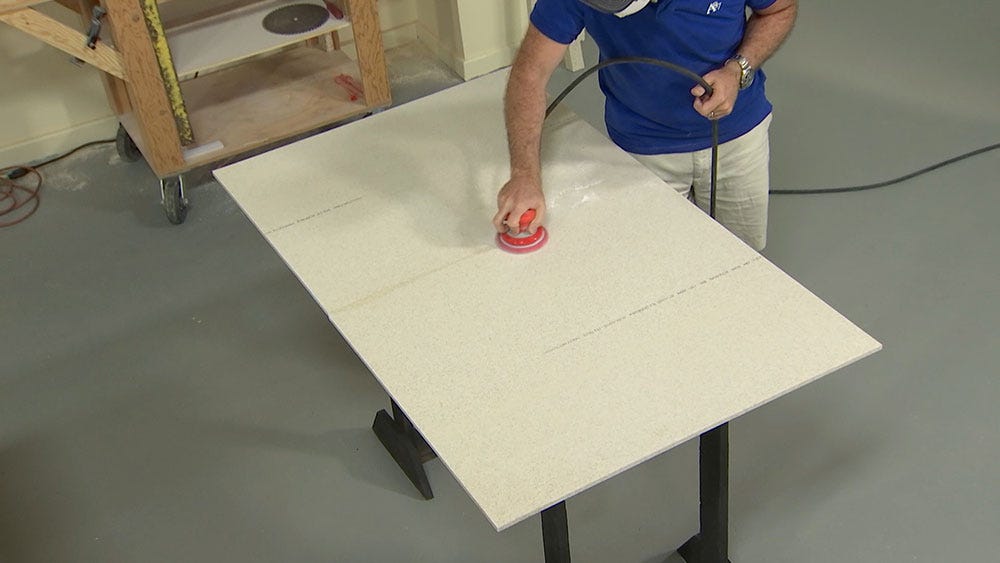
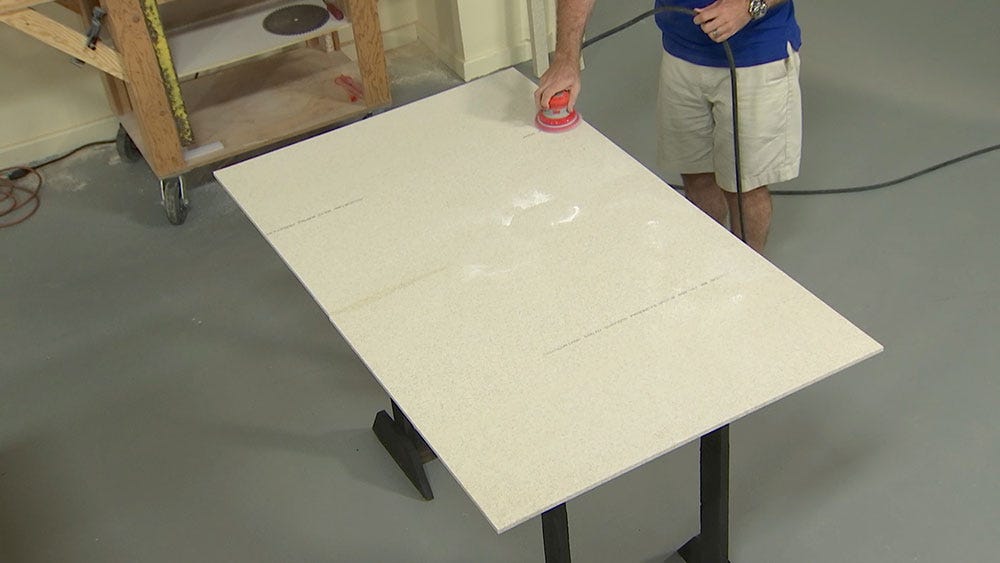
12. Remove the clamps and stop blocks. Chisel the dry adhesive off the top of the buildup then sand the buildup with an orbital sander to remove any bumps to ensure you have a flat level edge to set against your base cabinet.
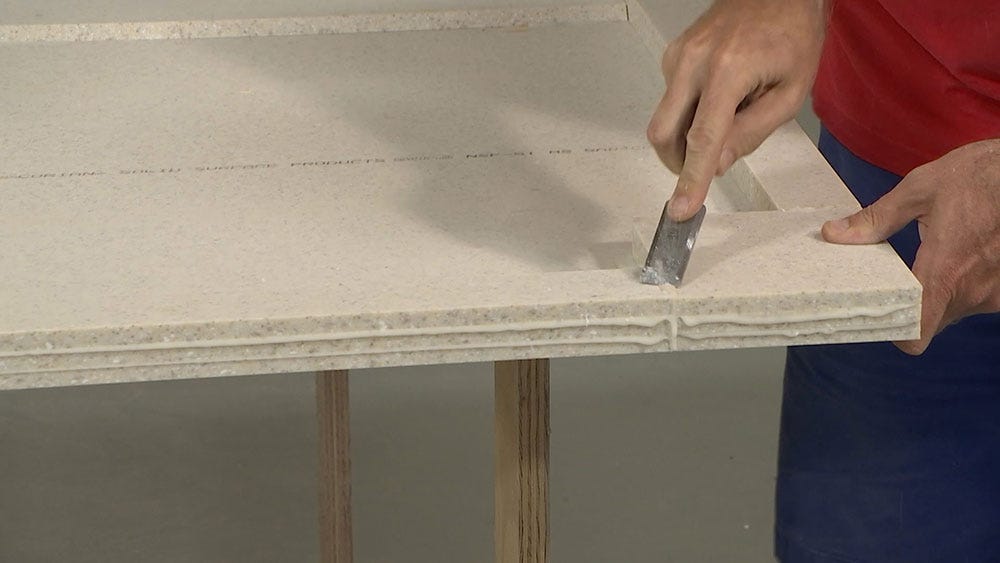
Chisel Dry Adhesive
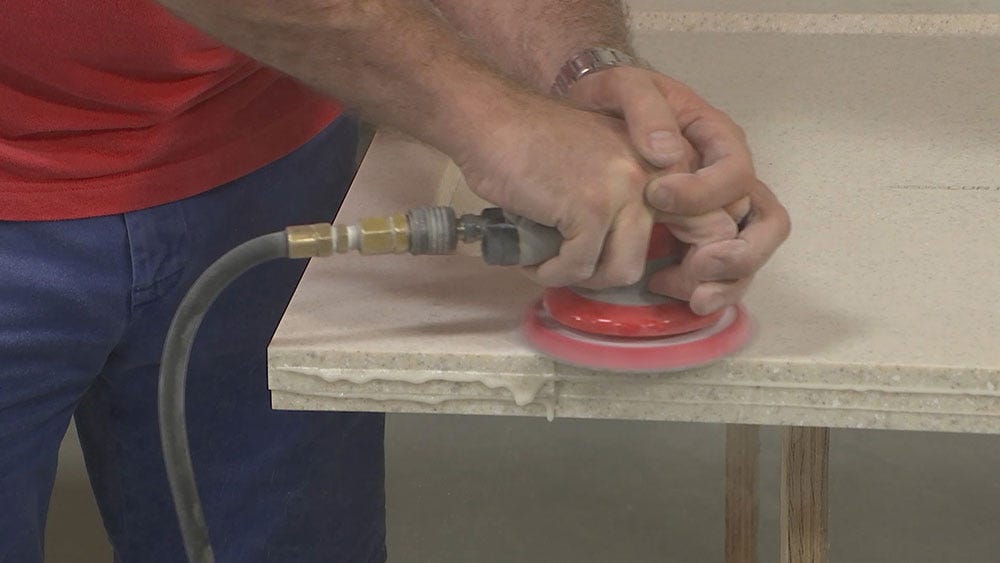
Sand Away Any Bumps
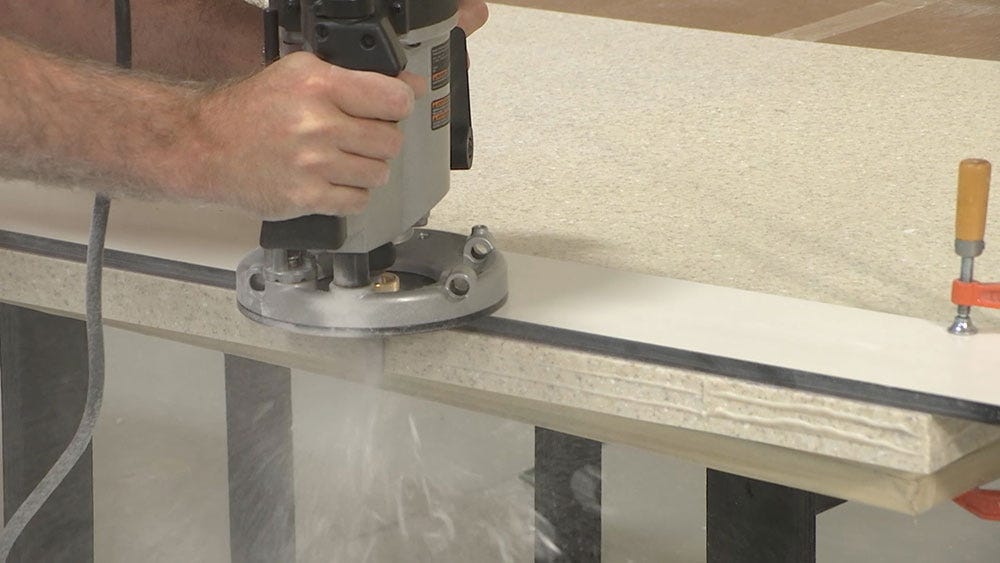
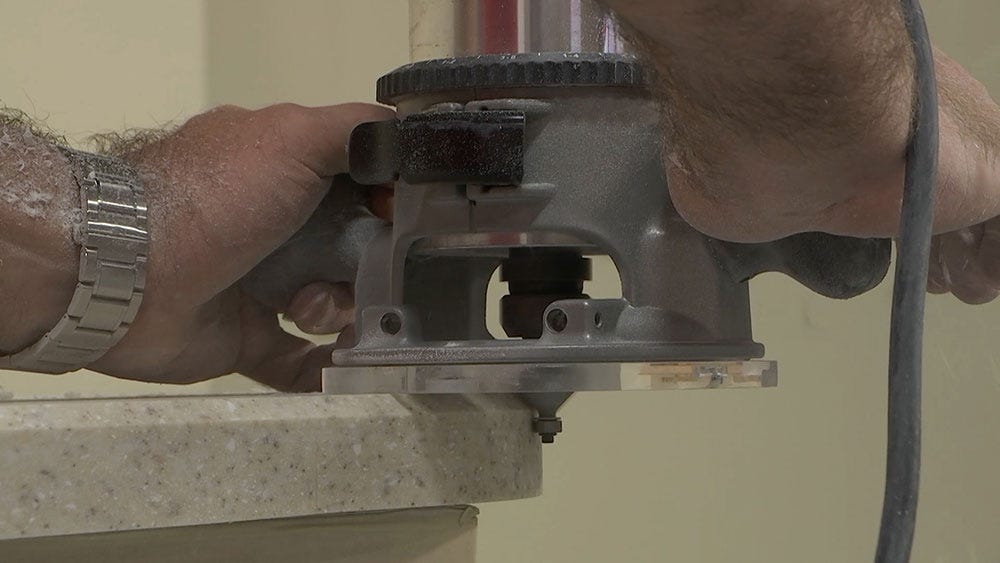
13. Trim your edge with either a straight router bit or flush trim bit depending on whether you are using "technique 1" or "technique 2".
Technique 1
Assuming you left your countertop slightly
oversized, you can now trim down all 4 sides
to size using a straight router bit.
Technique 2
Assuming your countertop is the final size, you can
now cut your buildup overhang off using a flush
trim bit with the bearing running against the top.
14. Use an orbital sander to sand out any imperfections in your newly cut edge.
15. Your edge is now ready to have a decorative finished edge applied.
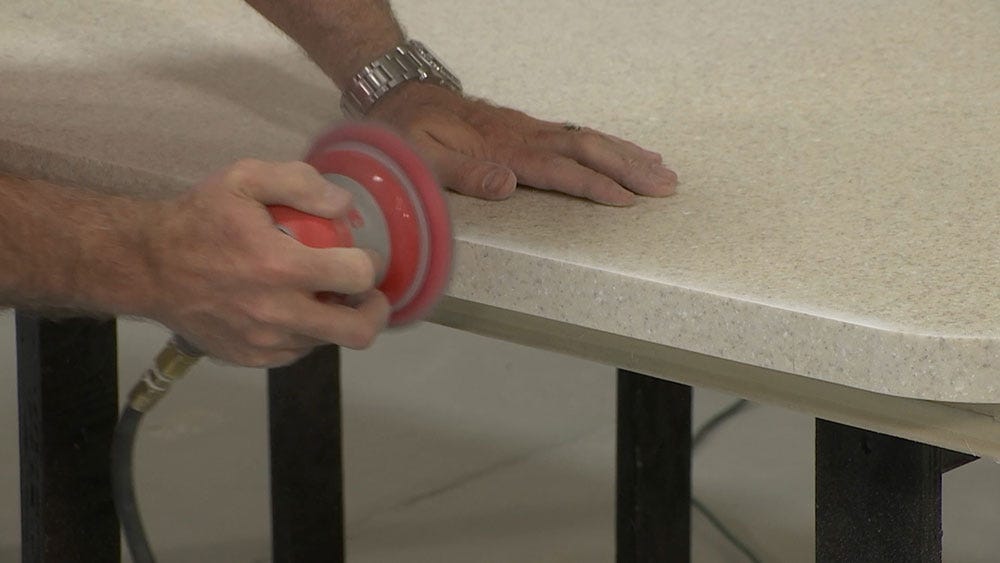
Smooth the Edges
Route Decorative Edge
FAQs
Can you glue both buildup strips at the same time?
- You certainly can, however, the process is a bit messier as there are more moving parts and more uncured glue. For one-off projects, we generally recommend working one layer at a time to keep the process cleaner and more methodical.
Can you add more than two buildups?
- Absolutely! Simply repeat the process for as many buildup strips as you'd like to add.