Installing Substrate Under Countertops
May 30, 2023 4 min read


Tools Required:
- Cutting tool for plywood
- Silicone
- Hot Glue Gun
- Level
Installing Substrate
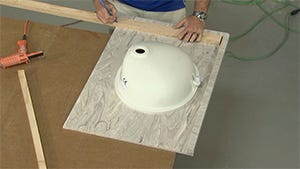
Step 1: Identify and source substrate material (generally plywood) of the required thickness. The thickness will equal the height of the additional drop that was added to the countertop edge. (i.e.- If you added a 1" drop to create a countertop with a total edge thickness of 1.5", you will need to use 1" thick plywood).
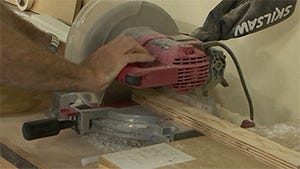
Step 2: Cut and prep 2.5" wide strips of plywood.
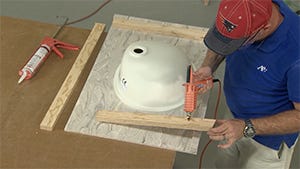
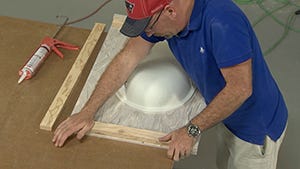
Step 3: Measure and cut strips to a length such that you fully frame around the inside edge of your countertop. Hold your substrate between 1/8" and 1/4" off of your buildup to allow room for expansion and contraction. Glue into place using alternating dabs of silicone and hot glue.
Key Tip: The hot glue serves as a temporary bond that holds the substrate to the countertop while the silicone has time to fully cure. Never adhere to your substrate only using hot glue. Silicone is absolutely required for a long-term bond.
Additional Cross Supports: Glue in horizontal 2.5" cross supports if the remaining unsupported countertop depth exceeds 12". As a general rule, you do not want greater than a 12" span of countertop without a cross substrate.
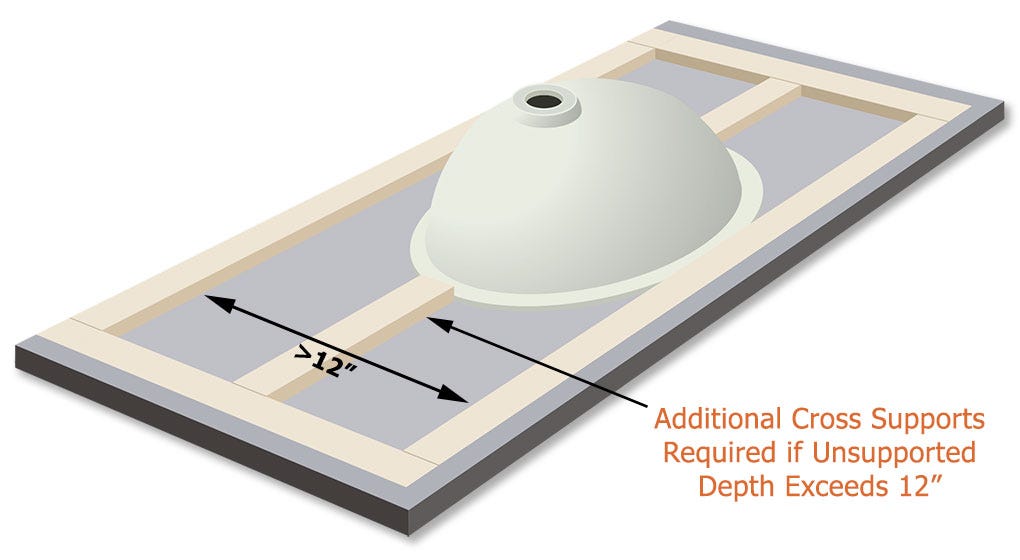

Add Additional Cross Supports as Required

