Seaming Solid Surface
May 22, 2023 6 min read
How to Seam Solid Surface
Tools Required

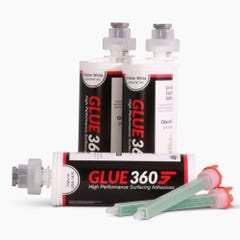
Adhesive & Gun
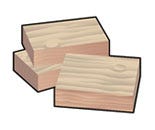
Clamp Blocks

Glue Gun
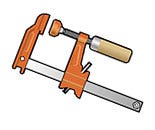
Clamps
Level

Denatured Alcohol
Seaming using Clamp Blocks
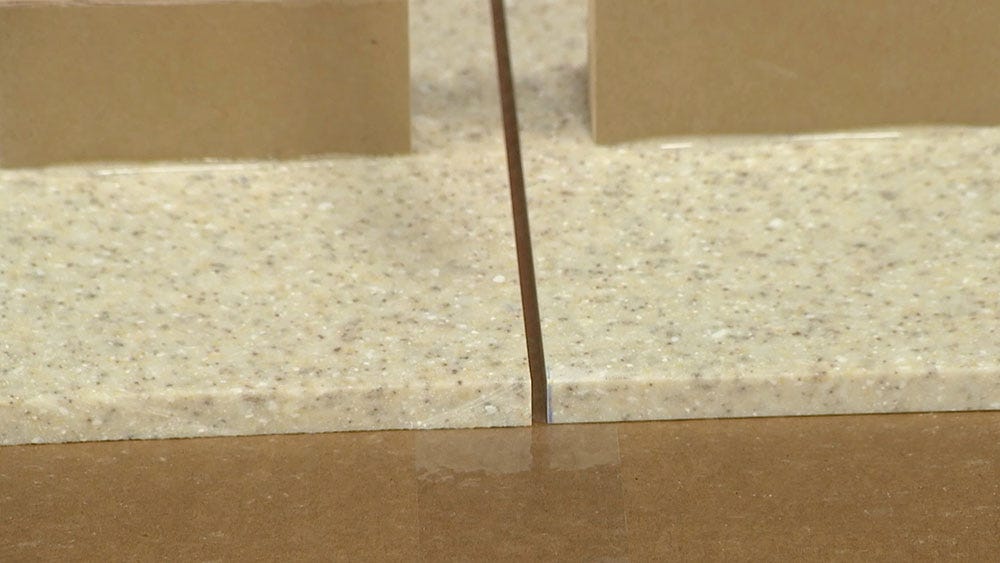
1. Before any seaming technique, it is wise to dry fit the pieces together to confirm you have straight seamable edges. Position the material next to each other and push the seamed edges together. You should see the seam almost disappear. If you see any gaps or chips, you will need to use a trim router and straight edge to clean and straighten you seam edge. Once your dry fit test looks good, pull your material apart slightly and proceed to the next step.
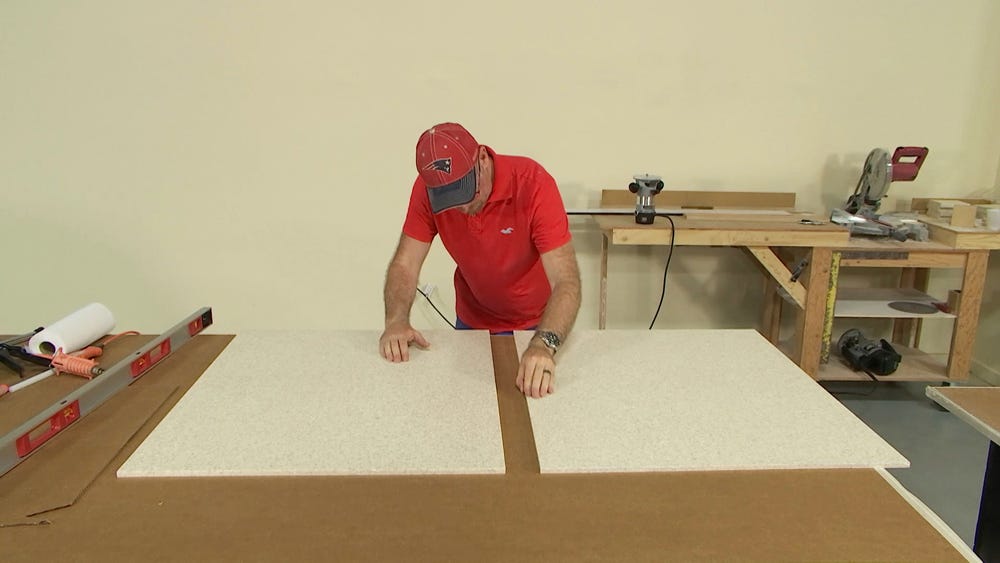
Confirm Edges Are Clean
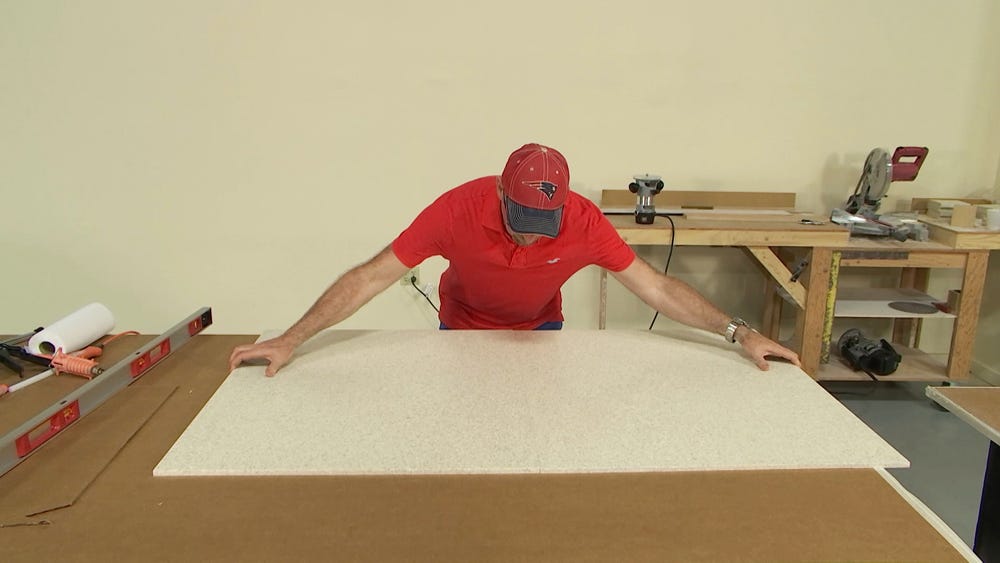
Dry Fit Pieces
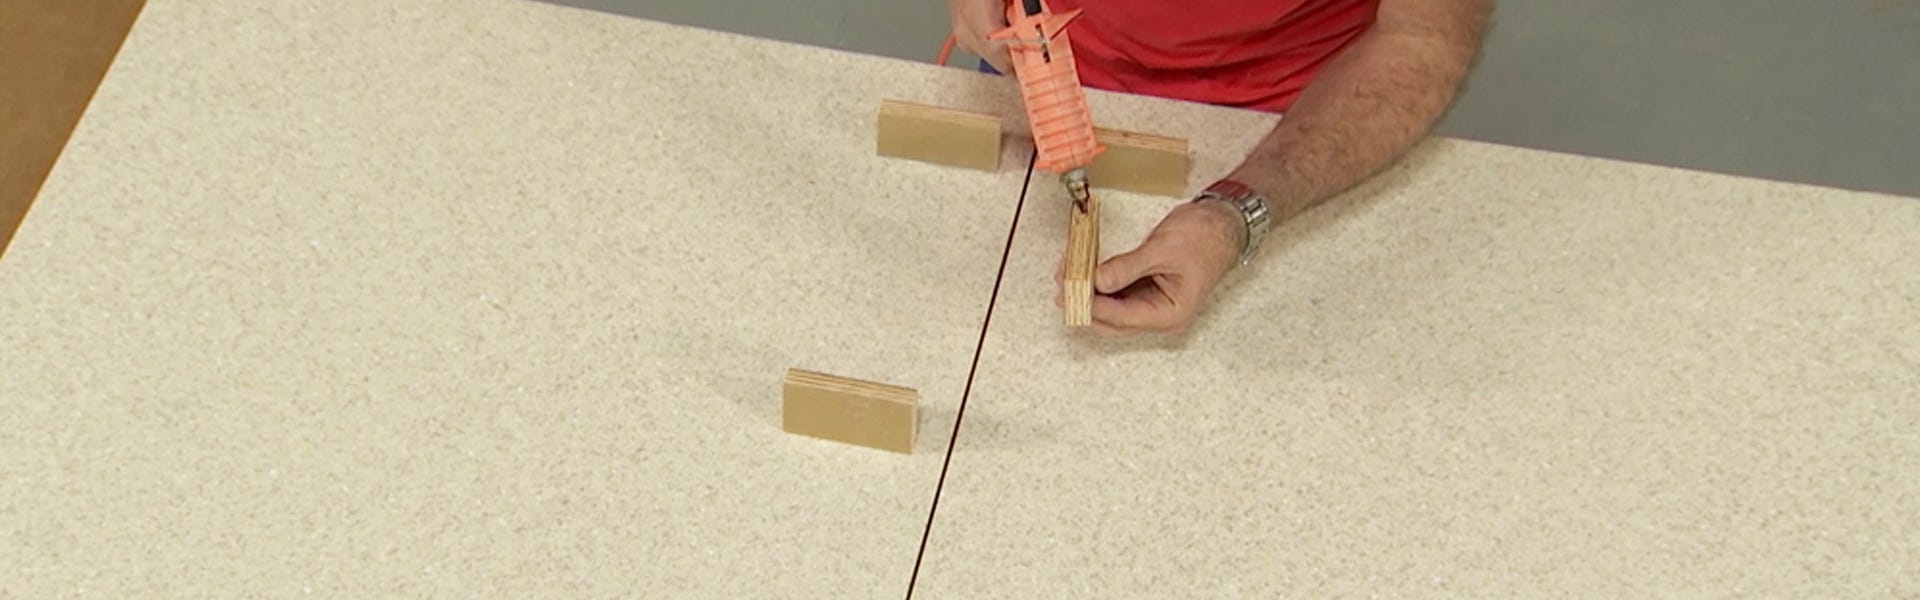
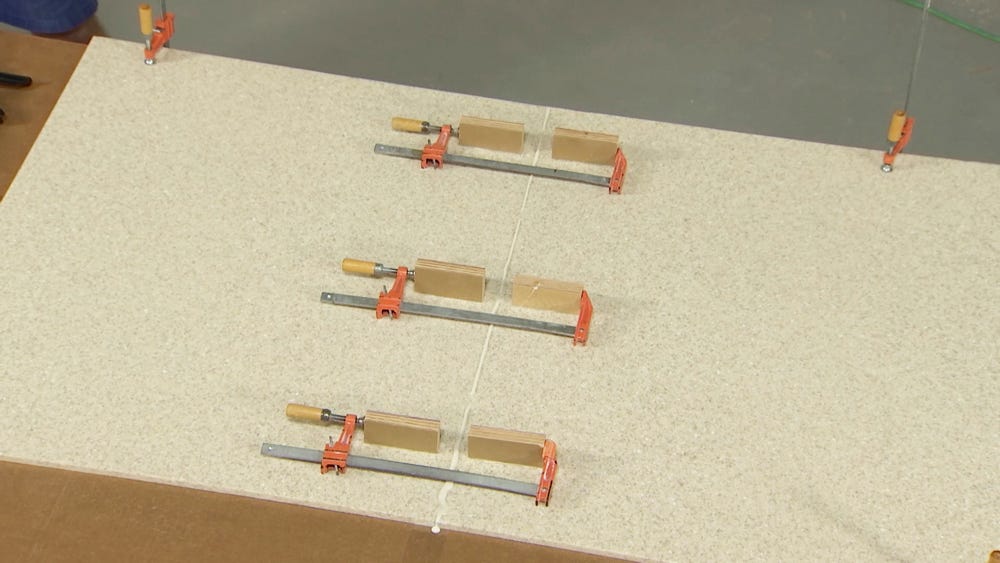
2. Wipe the area clean with denatured alcohol. Using a hot glue gun, attach clamp blocks on either side of your seam. There should always be a minimum of three clamp blocks (one on both ends and one in the center). For larger seams (greater than 30”) it is recommended to add additional blocks such that there is a clamp block at least every 10” along the seam.
Wipe with Denatured Alcohol
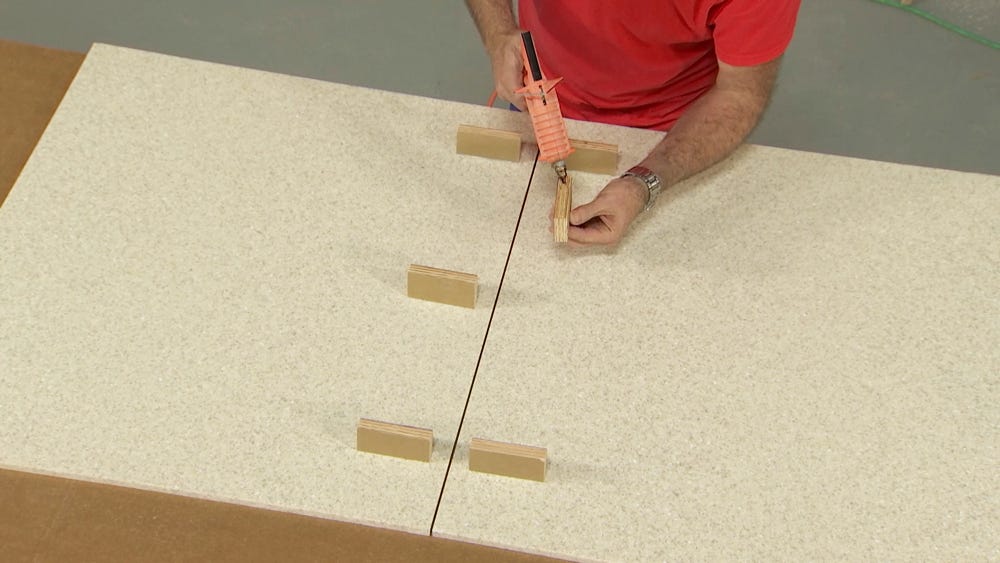
Hot Glue Clamp Blocks
Key Tip: Don't worry about the hot glue on your solid surface. You can easily chisel it off and clean with denatured alcohol.
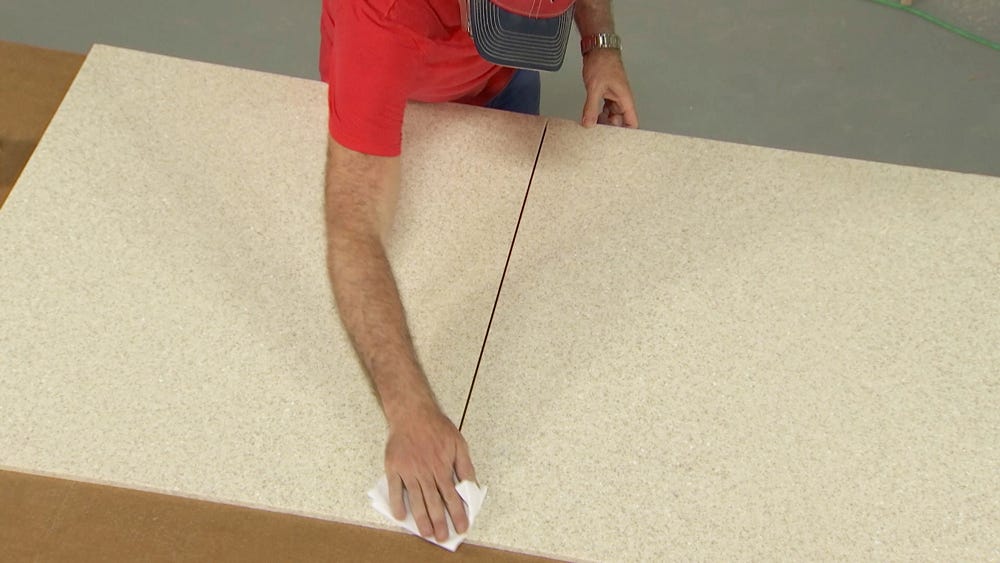
3. Place a strip of tape face down underneath the seam spanning the two sheets. This tape will keep the glue off the table and keep your material from adhering to your work surface. Wipe your seam edges with denatured alcohol to ensure they are free of all debris.

Tape Below Seam
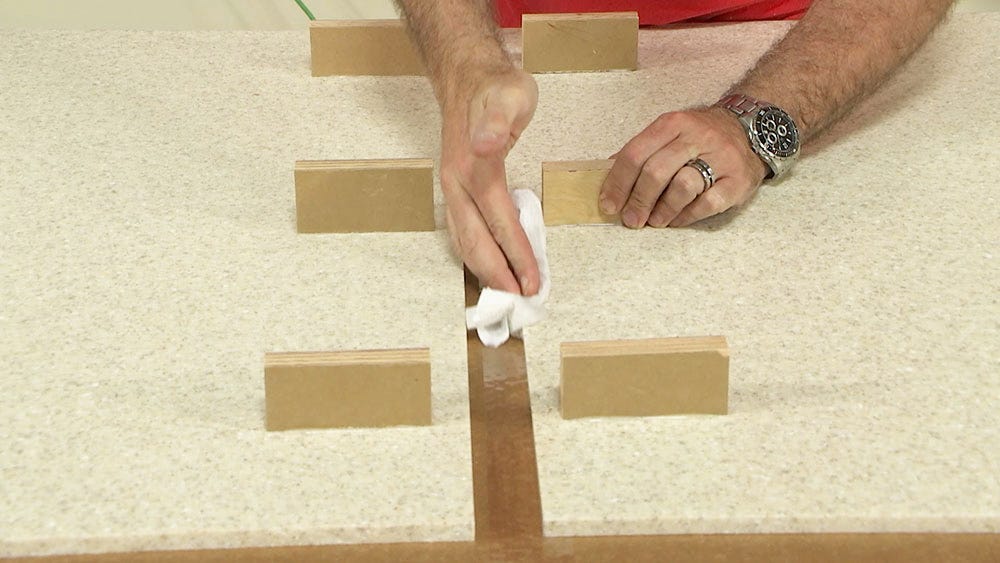
Wipe Down Edges
Ready to Seam
4. Using your adhesive dispensing gun and mixing tips, dispense 5-10 inches of adhesive onto a piece of cardboard or scrap. Note the below image showing the visible difference in adhesive consistency once properly mixed. This step is critical as it ensures the two-part adhesive is properly mixed. If ignored, your adhesive will not cure.
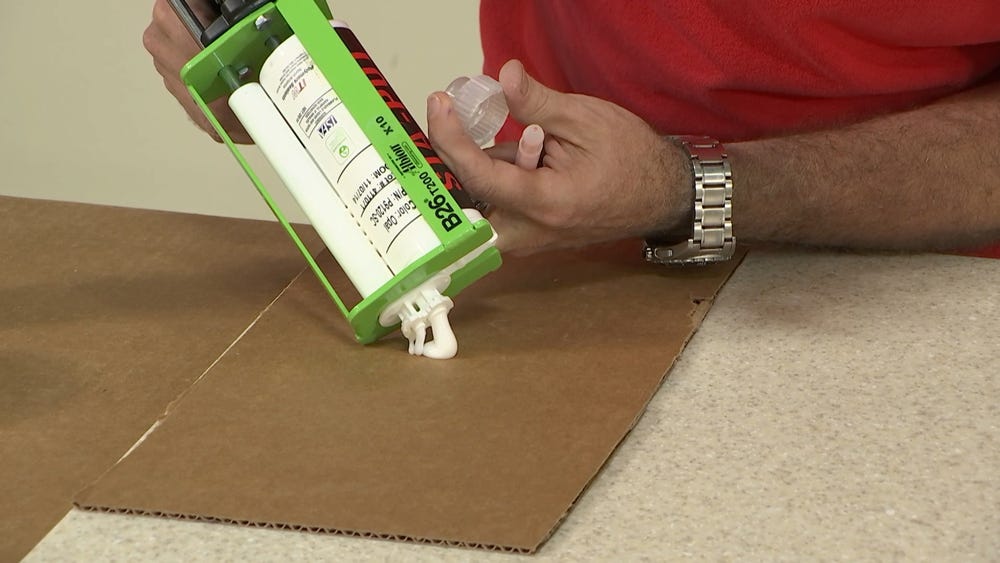
Confirm Adhesive Dispenses Properly
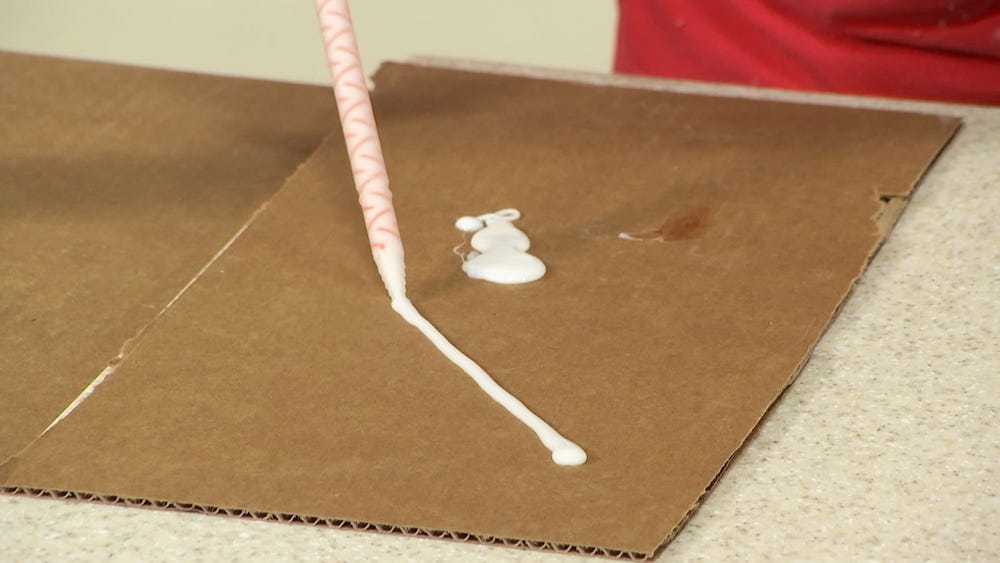
Test Dispense to Ensure Mixture
5. Apply ¼” diameter beads of glue along each seam face in turn. It is recommended to place the adhesive near the top of the first edge. This minimizes adhesive drip off the material while you apply adhesive to the other edge. It is important to apply adhesive to both edges. This ensures you aren’t light on the adhesive (or adhesive activator) in one section of the seam.
Apply Adhesive
Apply Consistent Bead Down Full Seam
Apply Adhesive to Both Sides at Top
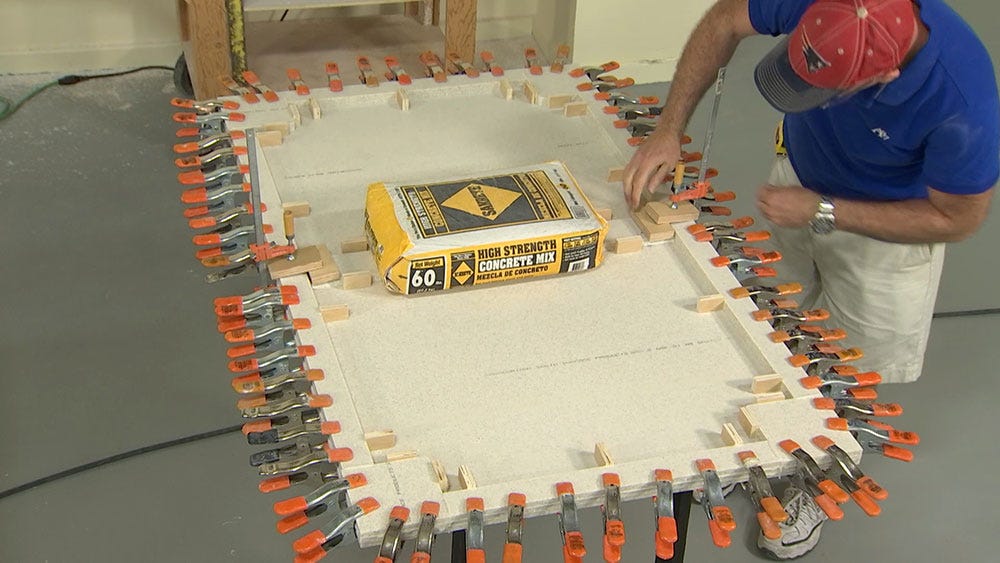
6. Press the two material pieces together and tighten down your clamp across the blocks. You will have some excess adhesive that is pushed up out of the seam. This "squeeze out" should be relatively consistent across the seam. You will also need to clamp down the other edges of your material to keep the sheet from trying to fold up on the seam.
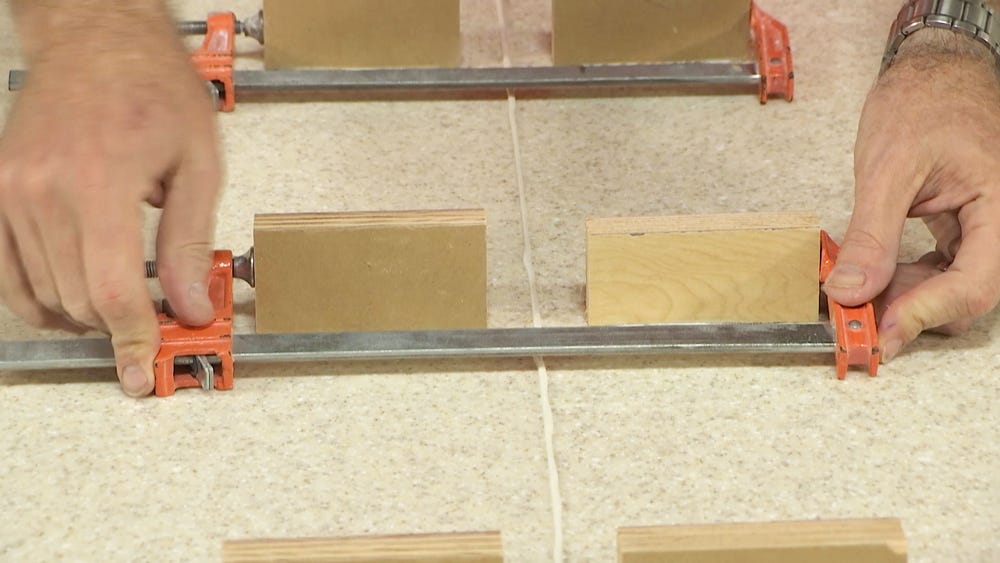
Tighten Clamps
Clamp Ends of the Sheet
Key Tip: Take care not to overtighten as this will cause too much adhesive to be expelled and can cause a weaker seam.
Key Tip: Once clamped, run your finger over the glue and squeeze it out in a few places across the seam to check that the material is still level. If one side has risen, put pressure/tap the proud side to press the material back to level before walking away and allowing it to cure.
7. After 45 minutes, remove clamps, knock off the clamp blocks and scrap excess glue off with a chisel.
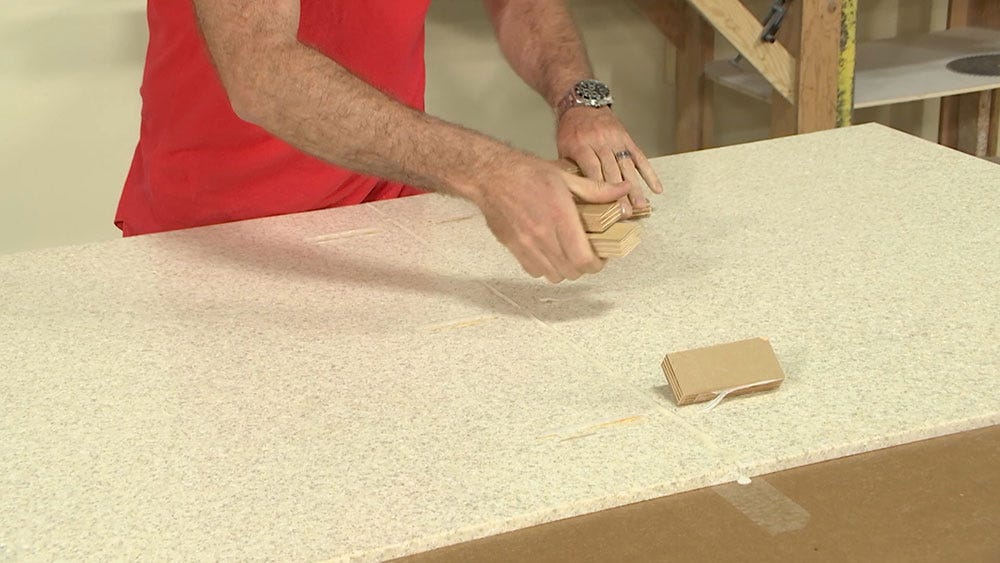
Remove Clamp Blocks
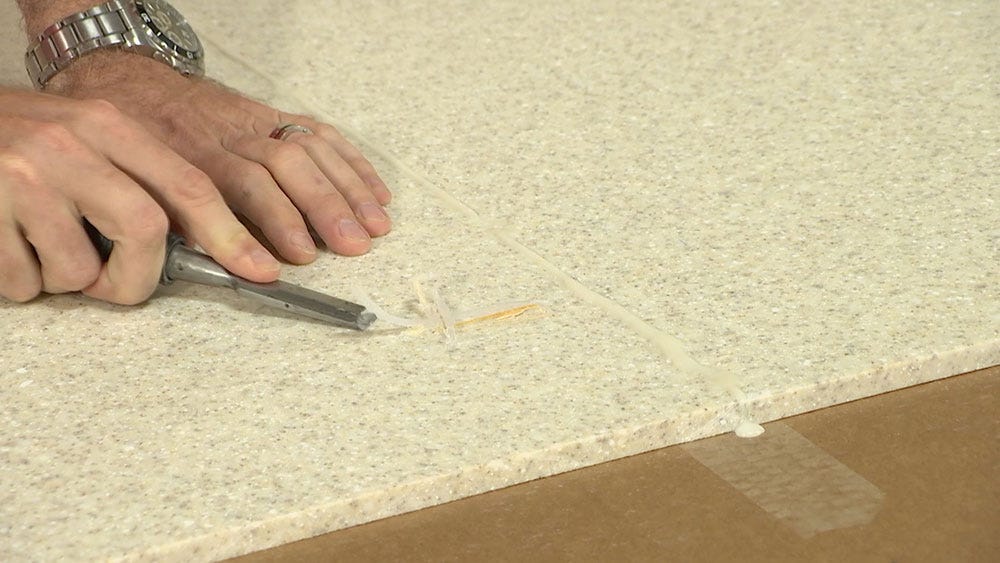
Chisel Excess Glue
8. Using an orbital sander, sand away the excess glue. Start with 80-micron pads, feathering out to each side roughly 4-6 inches. Next, upgrade to 60-micron pads and sand out roughly 10-12 inches. At this point, the seam itself should be nearly invisible.
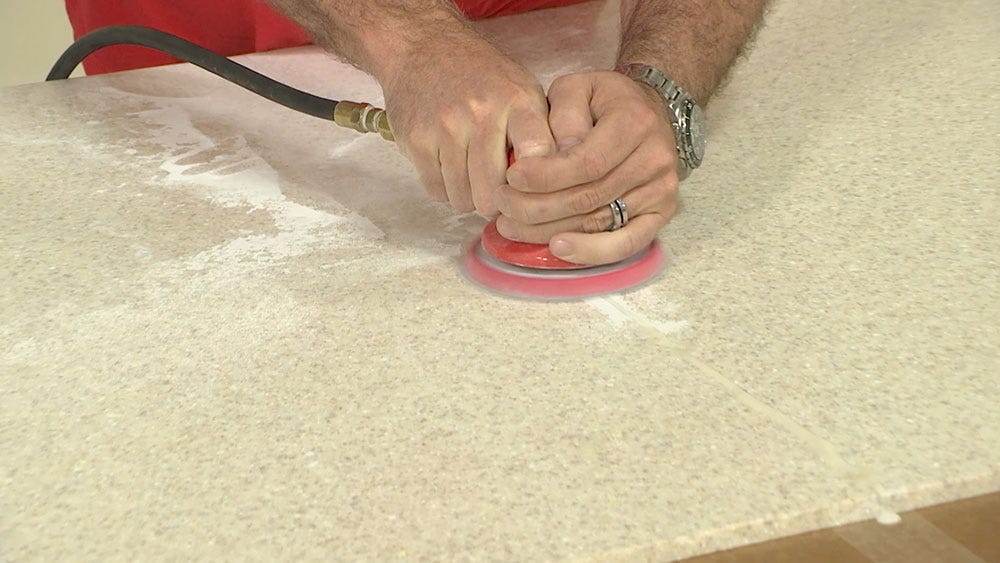
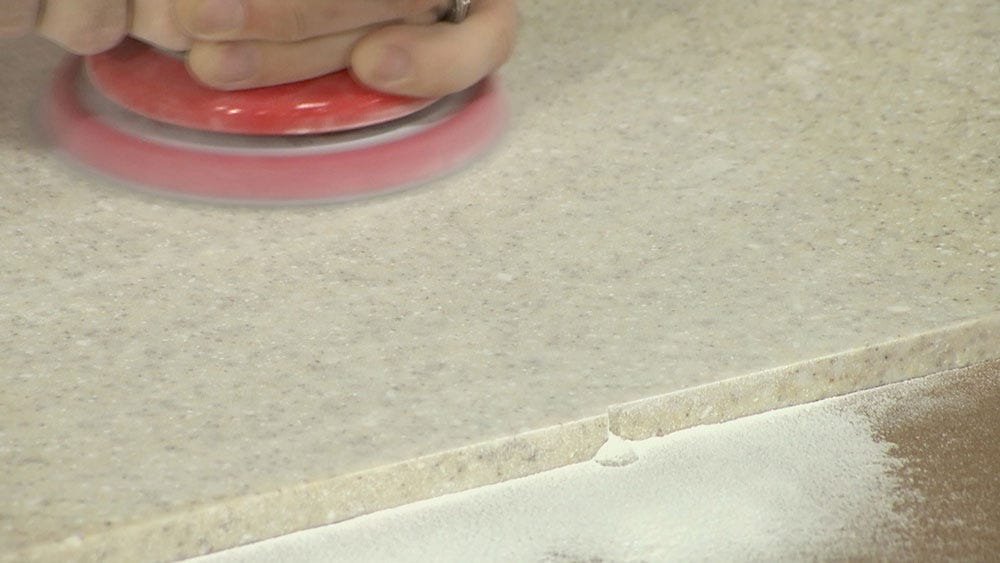
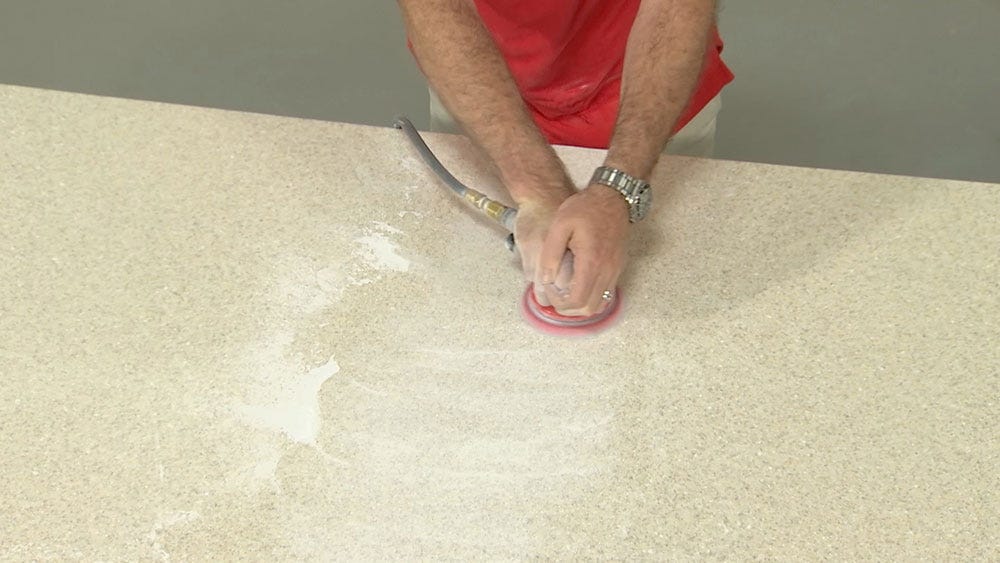
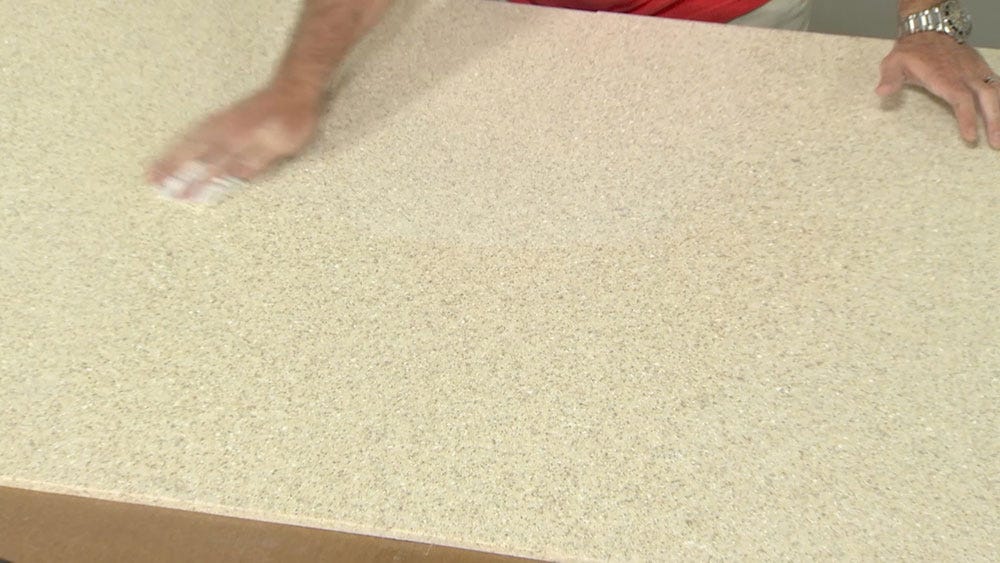
Key Tip: The seaming process almost always occurs before your final polishing of the countertop surface. Because of this it is generally not critical to perfectly feather and blend the seam at this stage. Your goal at this point is primarily knocking off the glue line. The first step of the polishing process will be to sand to a uniform finish. You then use a sandpaper progression to polish to the desired finish. Once this is completed your material will be effectively "seamless".
Adding Seam Blocks
For structural integrity, it is wise to add a 2-3” wide seam block underneath the seam on the bottom of the countertop. Seam blocks are added after any edge buildup strips are added so that you know the appropriate length of the seam block.
1. Measure the space between your edge finishing along your seam. Cut your seam block leaving 1/8" gap between the seam block and your edge buildups.
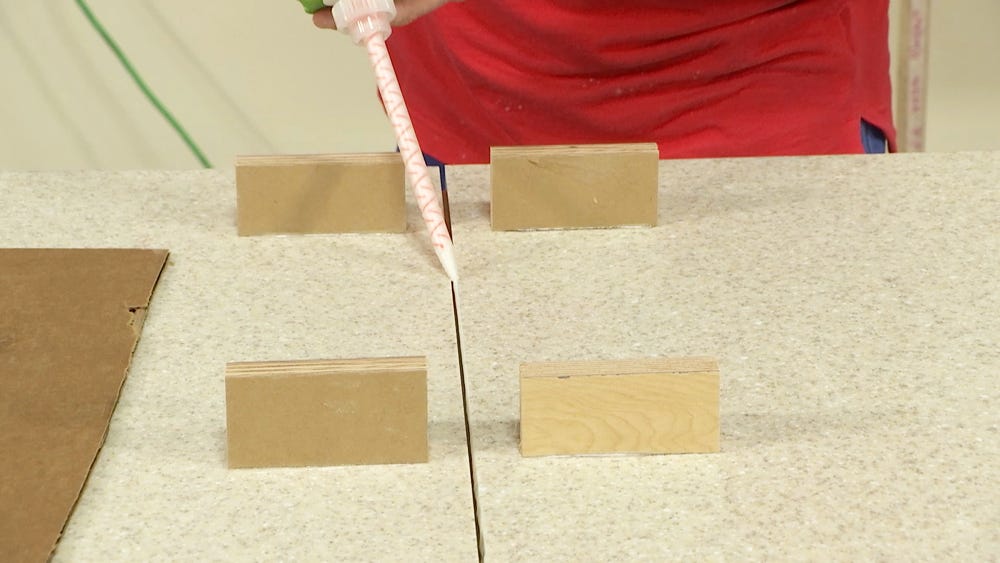
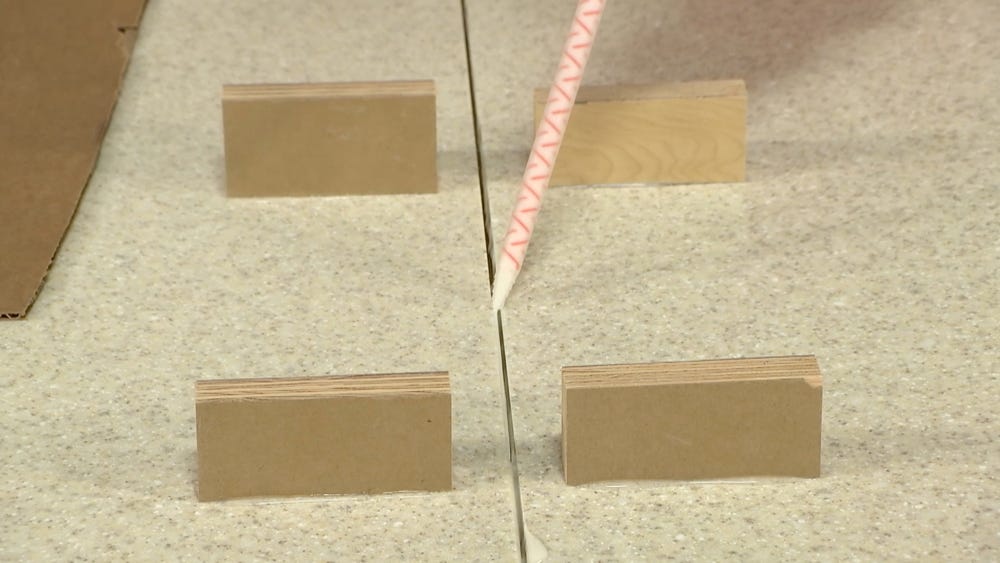
2. Center the seam block on your seam. Hot glue stop blocks on either side
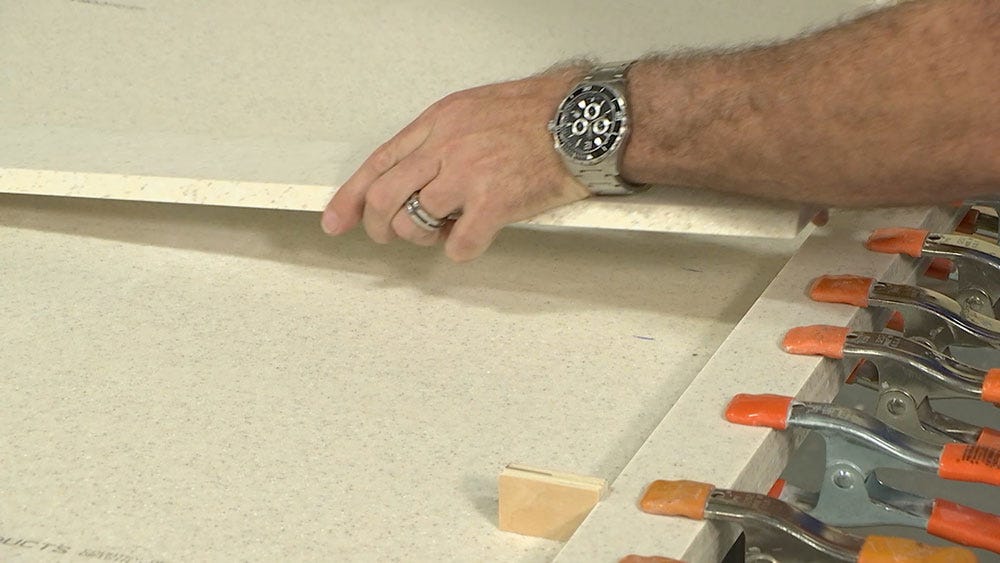
Step 1: Locate Seam Block
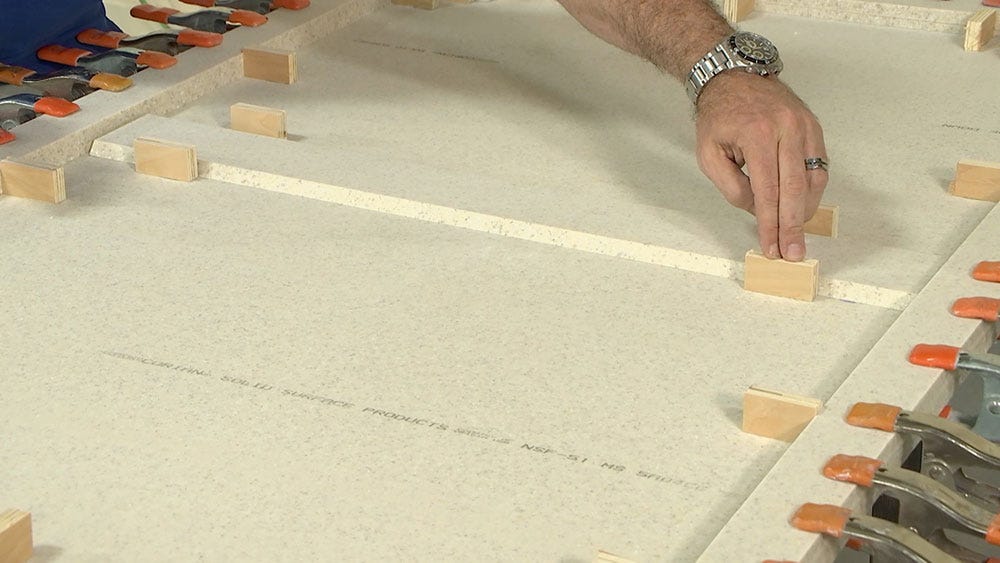
Step 2: Hot Glue Stop Blocks
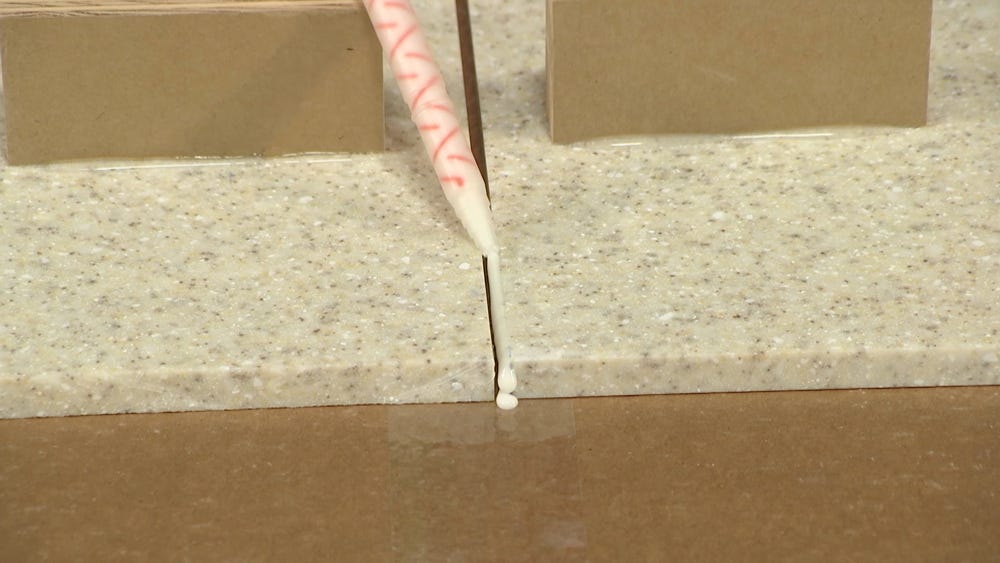
3. Liberally apply adhesive to the underside of the seam block. Press into place between the recently added stop blocks.
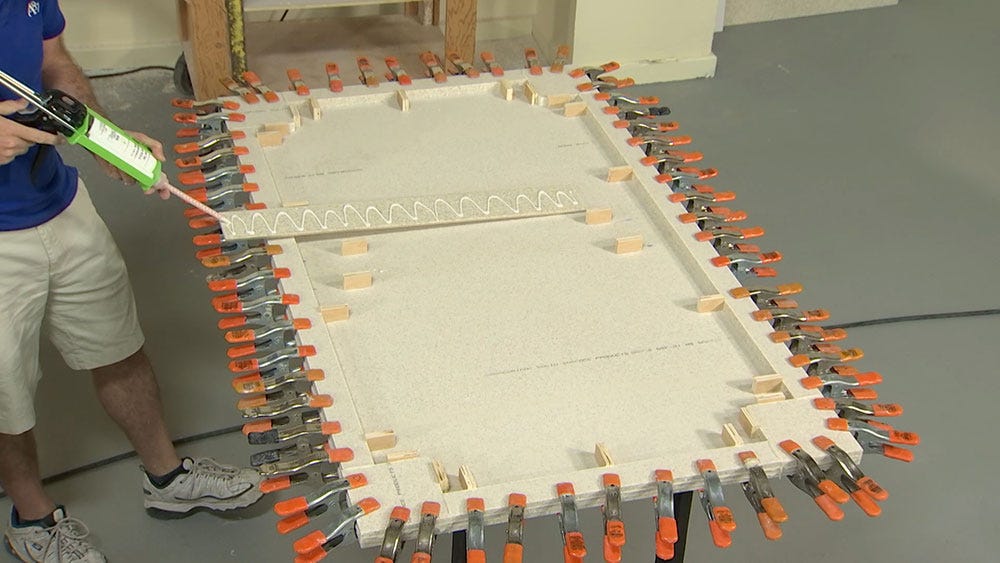
Apply Adhesive
Press into Place
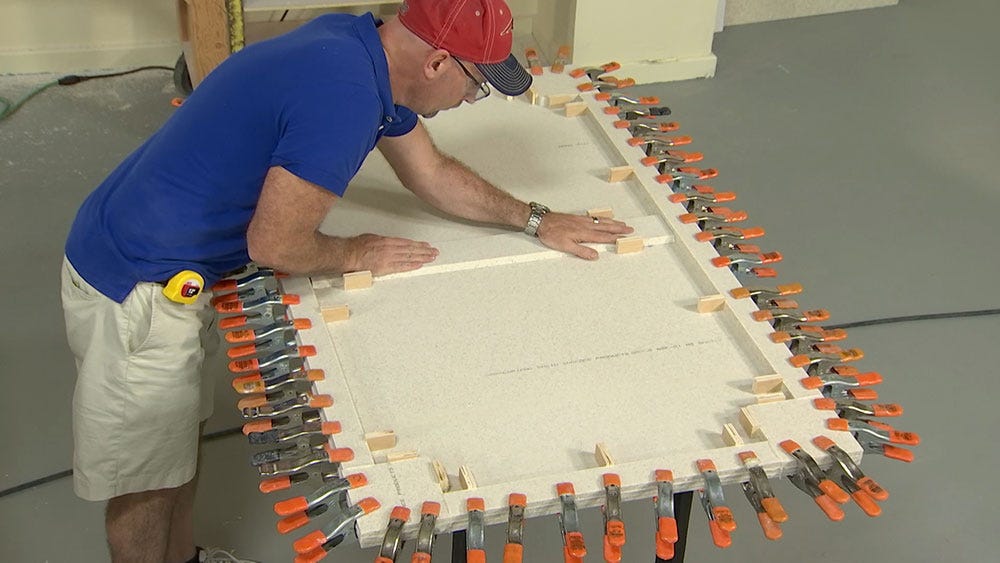
4. Clamp on either end of the stop block and in the center add a weighted item while the seam block cures.
Clamp and Let Cure
Note: Solid Surface fabrication manuals traditionally recommended cutting angles along the edges of the seam block (typical to the above pictures). Many industry professionals still do this out of habit however the newest fabrication manuals now do not require this step.
Additional Seaming Notes
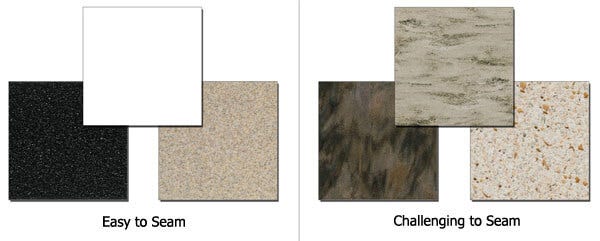
Seam Expectations - Not all solid surface colors seam as easy as others. Solids and colors with smaller particulates are easily seamed such that even the most trained eye can't spot the seam. Conversely, very large particulate patterns and patterns with grain directions are generally much harder to make appear “seamless”.
Do Not Try to Seam Factory Edges - You should never try to seam an edge directly as it is delivered from the manufacturer. The reason being is the material has been handled and it is unlikely that the edge is smooth enough to be properly seamed. You must make one pass with a hand router to clean the edge before attempting a seam. View our article "Cutting Solid Surface" for more information.
Professional Tools - There are many sophisticated tools available for high volume production seaming of solid surface material. Some serve the simple purpose of holding the material together while the glue cures. Others help auto-level the material which helps you avoid extra sanding post seaming.
While these tools are convenient, they are certainly not required. This is especially true for a single DIY solid surface project. Using simple clamp blocks and clamps (as described above) is a tried and true method used successfully on thousands of countertops.