Tools Used With Solid Surface
May 16, 2023 3 min read
Tools Used With Solid Surface
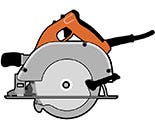
1. Circular Saw
A corded circular saw is recommended with a carbide tipped blade. Triple-chip blades designed for solid surface give the cleanest cut. A hook angle between -5 and +10 degrees is also recommended to avoid material kick back. The circular saw is required for making rough cuts that will be cleaned/trimmed by your router
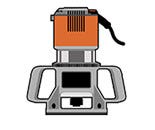
2. Router
A router is used throughout the solid surface fabrication process to:
- Trim/clean edges that will be seamed
- Route decorate profiles on exposed edges
- Cutting curved shapes using overlay templates (sinks, large radiuses, etc.)
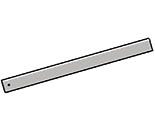
3. Straight Edge
A good straight edge is critical to the solid surface fabrication process. It will be used to guide both your circular saw and router. It must be of sufficient length to extend past any length cut you intend to make and clamp to both material ends. All of your cuts will only be as good as your the quality of your straight edge!
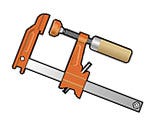
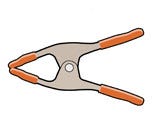
4. Clamps
Clamps are essential tools that provide stability, security, and accuracy when working with solid surface materials. Here are some reasons why you may need clamps for your project:
- Holding workpieces in place
- Gluing and bonding
- Sanding and finishing
- Assembling
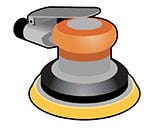
5. Random Orbital Sander
A random orbital sander is required for bringing your solid surface to the required finish. Sanding & Polishing kits are available for Matte, Semi-Gloss & Gloss finishes.
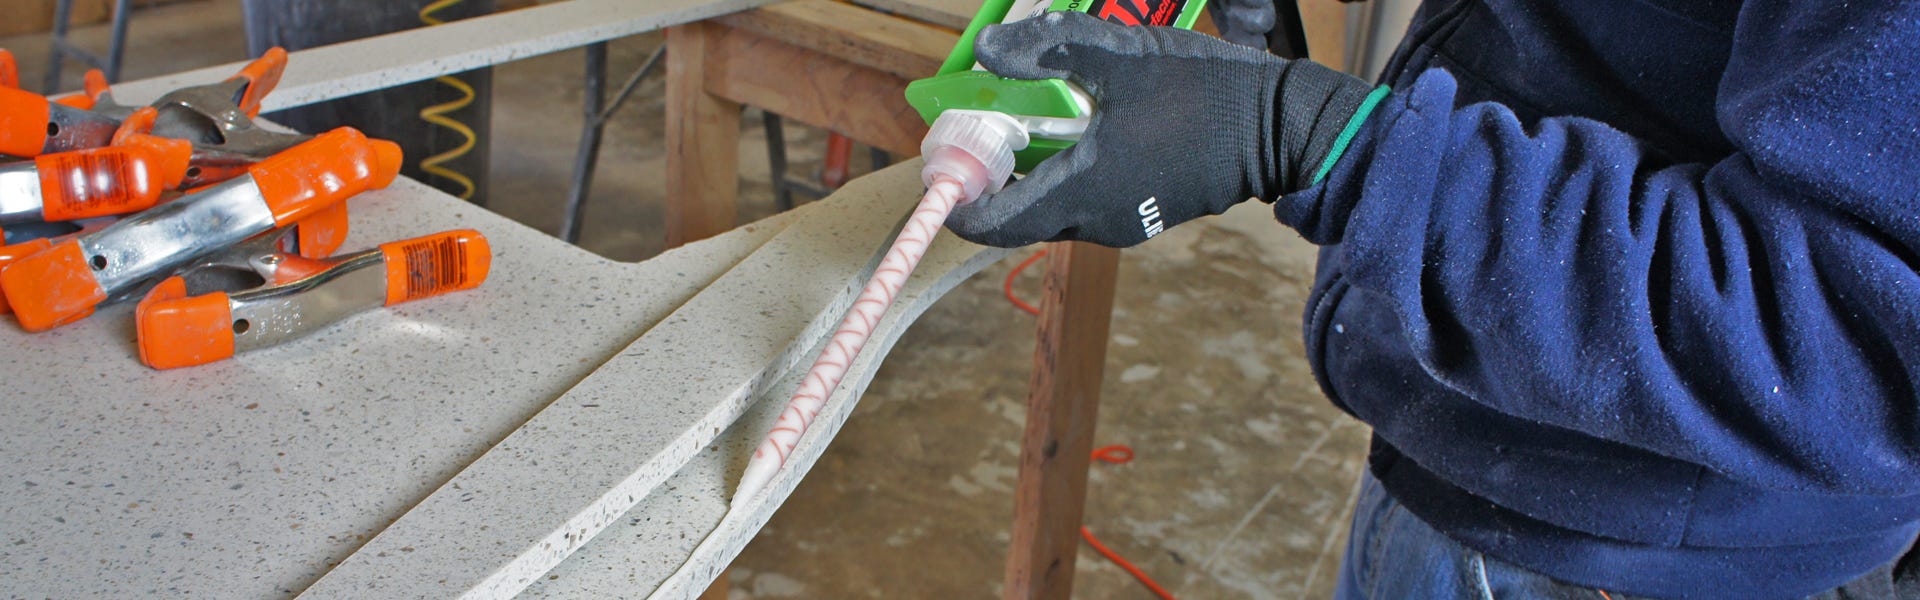
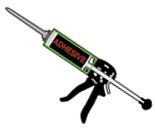
6. Adhesives & Dispensing Gun
Color matched adhesive is required for seaming solid surface. Popular color matched adhesive is 10:1 and requires a 10:1 dispensing gun. Adhesives are typically supplied with two mixing tips. Mixing tips harden and are unusable after use, so additional tips are required if the adhesive is not fully consumed in two uses.
Belt Sander
While not required, a belt sander can be helpful for scribing a countertop to an uneven wall. If a wall is straight and consistent this will not be required. Additionally if a backsplash (solid surface or otherwise) is installed this step is unnecessary as the backsplash will cover up any small voids created by bumps in the wall.
Other Tools Used
